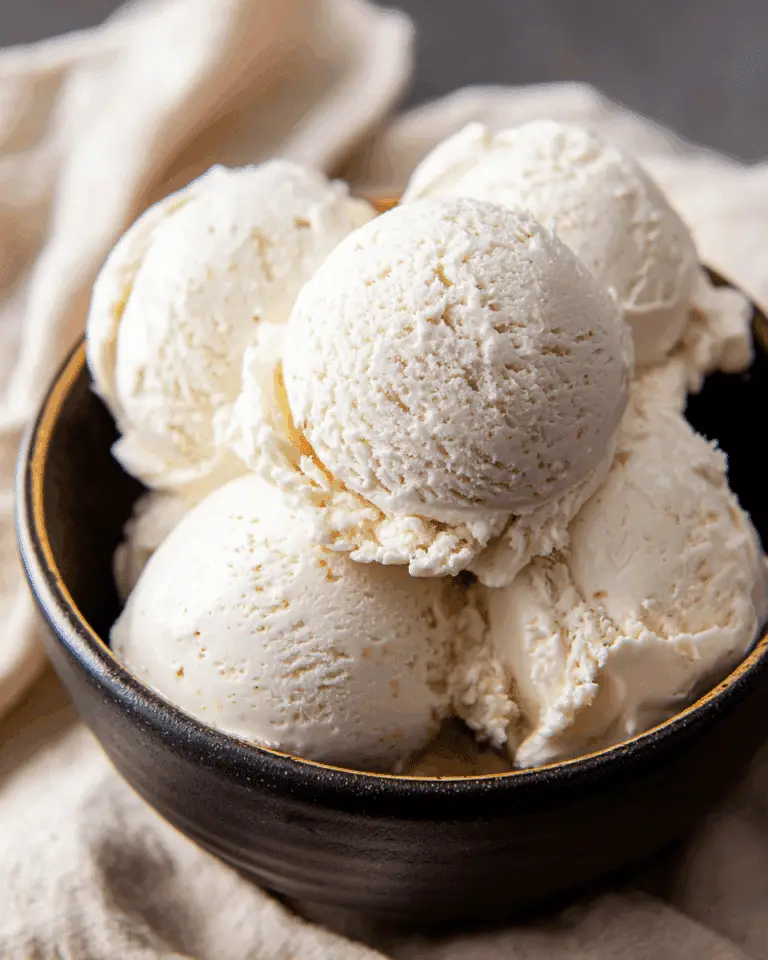
Get ready to time-travel with every bite: Ice cream in a bag is the classic after-school treat that instantly brings back childhood summers and sticky, sweet smiles. This recipe is equal parts fun activity and satisfying dessert, making it perfect for those moments when you crave something homemade but fuss-free. With just a handful of pantry staples and a little kitchen magic, you can whip up rich, creamy ice cream that not only delights your tastebuds, but gives you a reason to gather around and create new memories with friends and family.
Ingredients You’ll Need
The beauty of ice cream in a bag lies in its simplicity—each ingredient plays a key role in creating that dreamy texture and nostalgic flavor. Here’s what you’ll need, along with some short tips to make sure each element shines!
- Whole milk (200ml): Gives the base its smoothness and a comforting milky flavor that reminds you of true homemade ice cream.
- Whipping cream (150ml): The secret to ultra-creamy texture and that luscious mouthfeel you want from every scoop.
- Sugar (20g): Sweetens the mix just right, allowing the vanilla and dairy notes to stand out without being overpowering.
- Milk powder (35g): Adds extra richness and depth, helping achieve a thicker, more luxurious consistency.
- Cornstarch (10g): Acts as a natural thickener to ensure your ice cream in a bag freezes perfectly smooth, not icy.
- Vanilla extract (1/2 tsp, optional): Adds a warm, aromatic sweetness that’s classic in homemade ice cream—if you like that hint of vanilla, don’t skip it!
How to Make Ice cream in a bag
Step 1: Mix the Base Ingredients
Start by combining the whole milk, whipping cream, sugar, milk powder, and cornstarch in a mixing bowl. Stir gently but thoroughly until you have a smooth batter—no lumps allowed! This initial blending is key to ensuring every mouthful of your ice cream in a bag is blissfully creamy and perfectly sweetened.
Step 2: Heat and Thicken
Strain your mixture into a pot to catch any lingering clumps; a fine mesh sieve works wonders for this. Put the pot over low heat, stirring constantly—think of it like watching over a pot of gold! You’ll know it’s ready when it thickens to the consistency of creamy yogurt. Be patient, as this step guarantees that distinctive dense-yet-silky texture that sets ice cream in a bag apart from the store-bought stuff.
Step 3: Fill, Seal, and Freeze
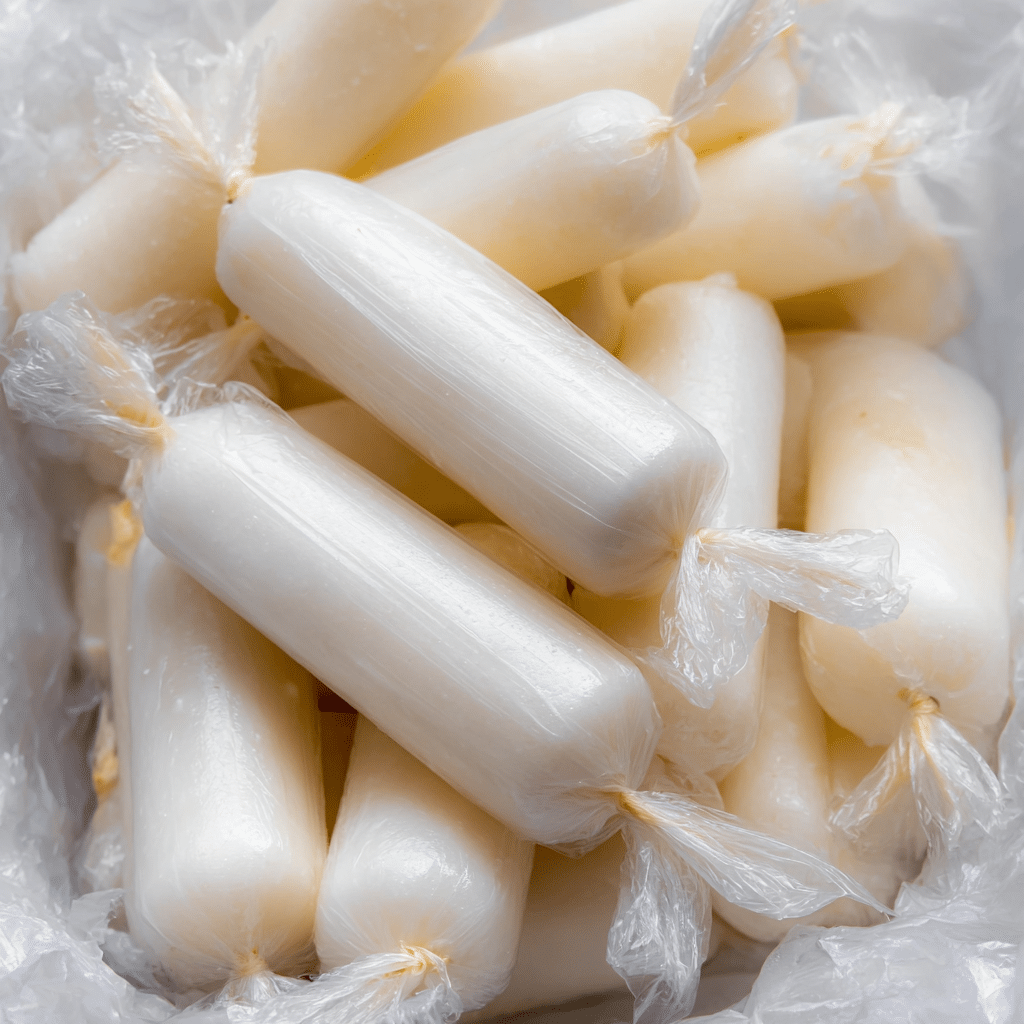
Pour the thickened mixture into ice cream molds for a nostalgic popsicle vibe, or wait until it cools slightly and carefully pour into small bags. Make sure you seal those bags tightly—nobody wants a freezer mishap! Pop them into the freezer and exercise just a little self-control: you’ll need at least four hours (overnight is best) to let the magic happen. Once frozen solid, your dreamy ice cream in a bag is ready to enjoy.
How to Serve Ice cream in a bag
Garnishes
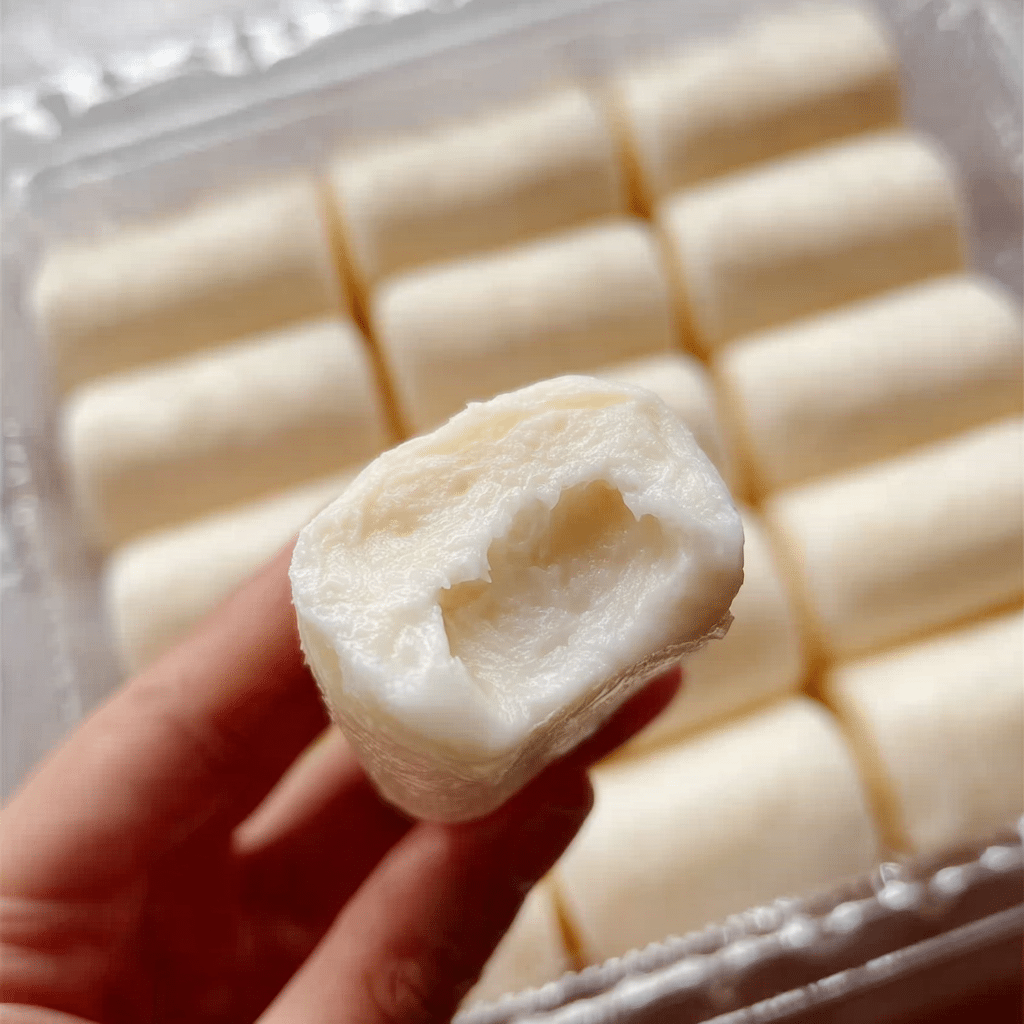
This is where you can get playful! Try snipping off a corner of the bag and sprinkling crushed cookies, rainbow sprinkles, or a pinch of sea salt right on top. Even a swirl of chocolate sauce or a few fresh berries can elevate your ice cream in a bag to a true showstopper—and everyone loves customizing their own.
Side Dishes
Ice cream in a bag is so nostalgic, it pairs well with old-school favorites: think freshly baked brownies, warm chocolate chip cookies, or a bowl of juicy cut fruit. For a playful summer platter, set out a variety of sliced melon and your homemade ice cream for dipping. The combo of cold, creamy, and refreshing is hard to resist!
Creative Ways to Present
For parties or picnics, serve the ice cream in a bag directly with little spoons or let guests decorate their own by providing a “toppings bar.” You can also cut the frozen bag open and sandwich the ice cream between cookies for DIY ice cream sandwiches. Or, serve in clear mugs, snipped open like tubes, to put those pretty pastel hues on display.
Make Ahead and Storage
Storing Leftovers
If you have any ice cream in a bag left (which is rare!), just keep them in the freezer, neatly laid flat or upright in a container or basket. They’ll stay fresh and creamy for up to one week, making it easy to grab a treat anytime a craving hits.
Freezing
Proper freezing is the heart of this recipe. Place your filled and sealed bags flat on a tray so they freeze evenly and quickly. Once solid, you can stack them or arrange upright to save space. The quicker they freeze, the smoother the final texture will be!
Reheating
If your ice cream in a bag feels too hard straight from the freezer, don’t worry! Just let it sit at room temperature for about 5 minutes, or run the sealed bag under cool water to soften. It’ll be spoonable in no time—no melting mess or microwave needed.
FAQs
Can I use other flavors instead of vanilla?
Absolutely! Add a teaspoon of cocoa powder for chocolate, a swirl of berry puree for a fruity twist, or even a drop of peppermint extract if you’re feeling adventurous. Just stir them in at the same time as the vanilla or milk.
What kind of bags should I use for ice cream in a bag?
Opt for small, sturdy, food-safe ziplock or sealable freezer bags. Make sure they close tightly to prevent leaks and freezer burn, and always check there are no tiny holes before pouring in your mixture.
Is milk powder necessary, or can I skip it?
Milk powder gives a richer, thicker texture and a more satisfying ice cream bite, but if you don’t have it, you can try skipping it—the end result will be slightly icier, but still enjoyable!
How can I avoid ice crystals in my homemade ice cream in a bag?
Heating and thickening the mixture with cornstarch, as well as making sure you freeze it quickly, help prevent ice crystals. Full-fat milk and cream also play a part in making the texture velvety smooth.
Can kids help make this recipe?
Yes! Kids will love measuring, mixing, and sealing the bags. Adult supervision is necessary during the stovetop portion, but after that, it’s a fun hands-on activity for little helpers (and perfect for birthday parties).
Final Thoughts
Ice cream in a bag is a joyful throwback that proves you don’t need fancy gadgets or long ingredient lists to make something magical. Give it a go, share it with your favorite people, and rediscover just how much fun—and flavor—can come from a simple homemade treat!
Print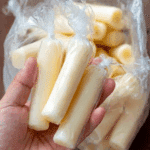
Ice cream in a bag Recipe
- Prep Time: 15 minutes
- Cook Time: 10 minutes
- Total Time: 4 hours 25 minutes
- Yield: 4 servings
- Category: Dessert
- Method: Freezing
- Cuisine: General
- Diet: Vegetarian
Description
Learn how to make homemade ice cream in a bag, a classic after-school treat that’s fun and easy to prepare. This simple recipe yields creamy and delicious ice cream that you can customize with your favorite flavors.
Ingredients
Ingredients:
- 200ml whole milk
- 150ml whipping cream
- 20g sugar
- 35g milk powder
- 10g cornstarch
- 1/2 tsp vanilla extract (optional)
Instructions
- Combine Ingredients: Add milk, cream, sugar, milk powder, and cornstarch. Stir until smooth.
- Cook Mixture: Strain the mixture into a pot to remove lumps. Cook on low heat, stirring constantly, until it thickens like yogurt. Turn off the heat.
- Freeze: Pour the thick mixture into ice cream molds or bags. Seal tightly and freeze for at least 4 hours, or until solid.
Nutrition
- Serving Size: 1 serving
- Calories: 260 kcal
- Sugar: 15g
- Sodium: 70mg
- Fat: 18g
- Saturated Fat: 11g
- Unsaturated Fat: 6g
- Trans Fat: 0g
- Carbohydrates: 20g
- Fiber: 0g
- Protein: 4g
- Cholesterol: 65mg


