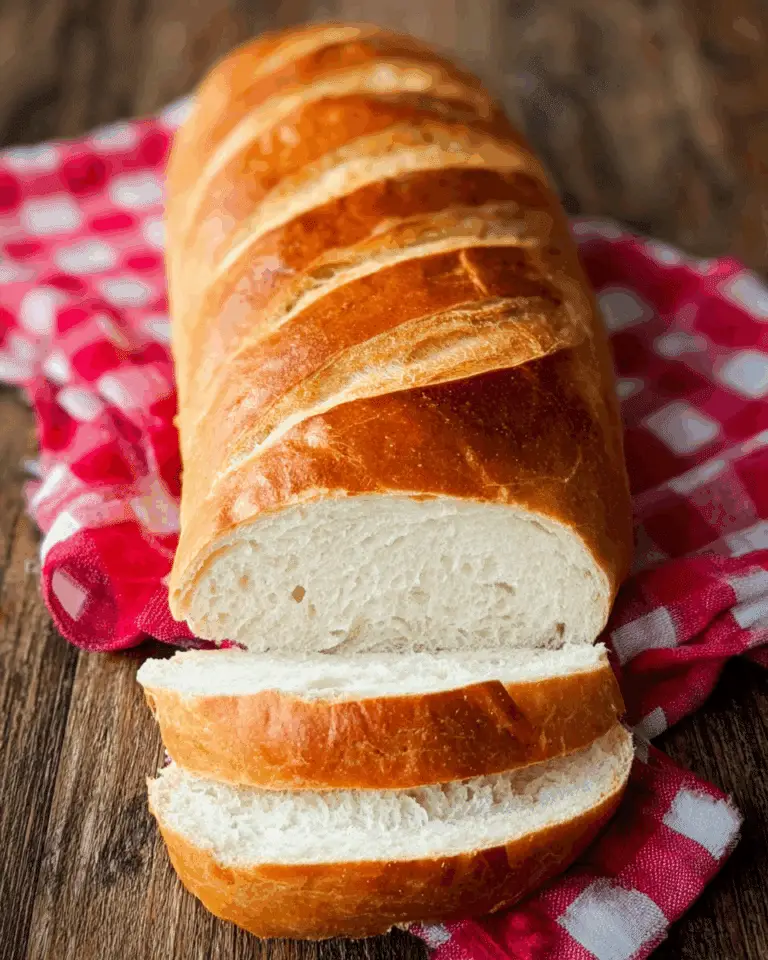
If you’ve ever craved a warm, fresh-from-the-oven bread but felt intimidated by traditional recipes, this Artisan Bread Recipe will change your home baking game forever. Using only three basic ingredients and almost no kneading, it produces a gloriously crusty, golden loaf with a soft, airy crumb every time. Whether you’re a bread newbie or a seasoned pro, you’ll love how foolproof, rewarding, and downright delicious this bread is. Get ready to fill your kitchen with the irresistible aroma of homemade bread that’s perfect for sharing, dipping, or simply enjoying on its own!
Ingredients You’ll Need
With this Artisan Bread Recipe, simplicity is the star! Just a handful of pantry staples come together to create extraordinary flavor and texture. Each ingredient shines, so don’t skip or substitute – these basics are essential to the classic artisan loaf experience.
- Flour: Choose all-purpose or bread flour for a beautifully chewy crumb; bread flour gives a bit more elasticity, while all-purpose is reliably tender.
- Kosher Salt: Adds depth and brings out the natural flavors; do not use less, as a well-salted loaf enhances every bite.
- Instant or Active Dry Yeast: Either works well here—just make sure it’s fresh! It’s the secret to that airy rise and lovely texture.
- Warm Water: Use water around 105°F; it gently wakes up the yeast and brings everything together into a sticky, magical dough.
How to Make Artisan Bread Recipe
Step 1: Mix Your Dough
In a large mixing bowl, combine the flour, salt, and yeast. Pour in the warm water and stir until everything is just blended. The dough will look shaggy and feel sticky—that’s exactly what you want! Resist the urge to knead or fuss; the real magic happens later as it rests.
Step 2: Let It Rise
Cover the bowl with a clean towel or plastic wrap and let the dough rest at room temperature for at least 2 hours, or up to 10 hours—or even overnight if you want a deeper, tangier flavor. This leisurely rise is what gives the Artisan Bread Recipe its irresistible flavor.
Step 3: Shape the Dough
Once your dough has puffed up and looks porous, flour your hands and gently scoop it onto a lightly floured surface. Fold the edges into the middle a few times, shaping it into a rustic round or dividing it for two smaller loaves. Tuck the ends under and keep things gentle to preserve those lovely air pockets!
Step 4: Prepare for Baking
Place your dough on a piece of parchment paper. Dust the top generously with flour and use a sharp bread knife to score 1–4 lines across the surface—these signature slashes help the bread expand beautifully in the oven. Let the loaf rest for another 20 to 30 minutes, giving it one last poofy rise.
Step 5: Bake With Steam
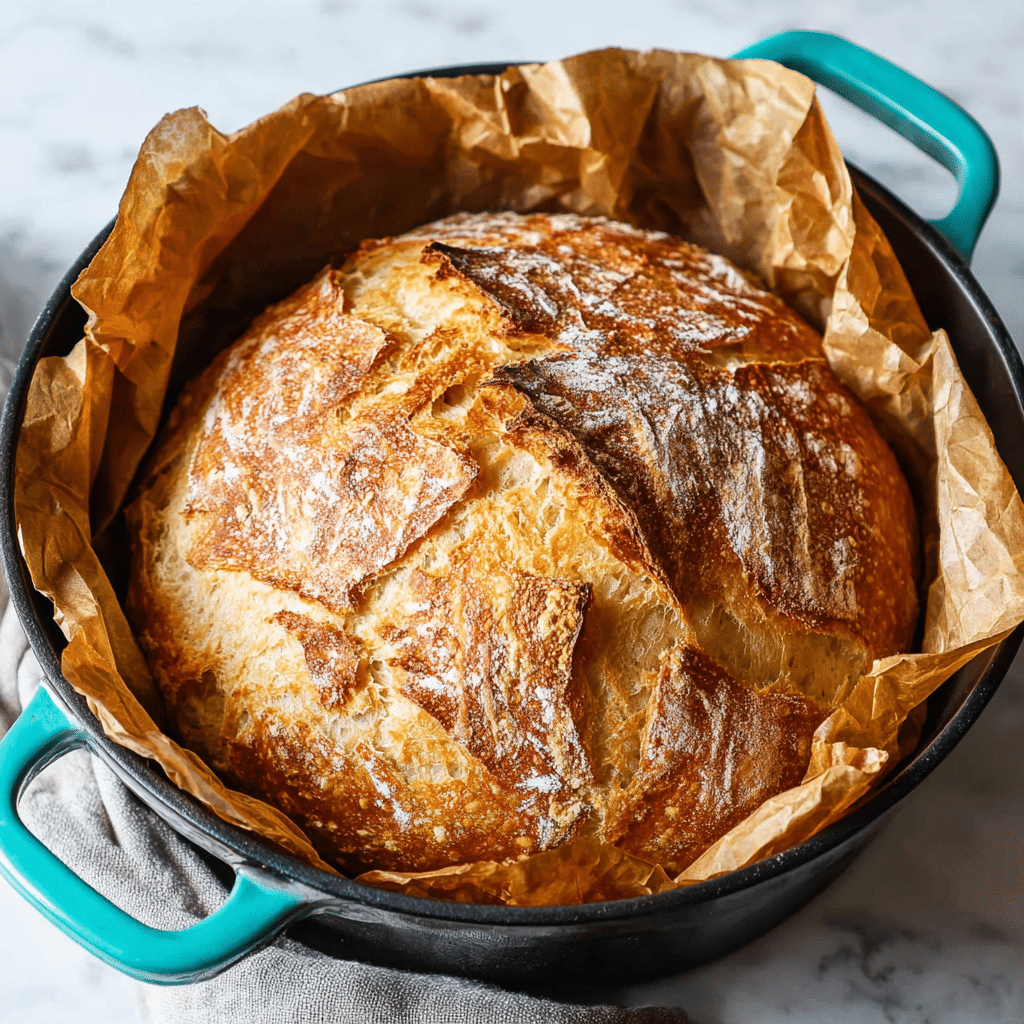
While your dough rests, preheat your oven to 450°F. If you have a pizza stone, Dutch oven, or heavy skillet, place it inside to heat up. When ready, slide the dough (with the parchment) onto your hot baking surface. Pour a cup of hot water or toss in a few ice cubes onto the oven floor—this burst of steam works wonders for a crusty finish! Close the oven quickly and bake for 25 to 30 minutes, until golden brown and crisp.
Step 6: Cool and Slice
Once the loaf is stunningly golden and sounds hollow when tapped, remove it from the oven and let it cool on a rack for at least 30 minutes. This patience pays off—cutting too soon can result in a gummy texture. Once cool, slice and enjoy the marvel that is your homemade bread!
How to Serve Artisan Bread Recipe
Garnishes
A warm loaf from this Artisan Bread Recipe truly shines on its own, but an extra flourish can make it even more special. Brush the still-warm crust with melted butter, sprinkle with flaky sea salt or fresh rosemary, or rub the top with a cut clove of garlic for aromatic flavor.
Side Dishes
Pair your artisan bread with classic comforts: a hearty bowl of soup, a vibrant salad, or a plate of savory cheese and charcuterie. It’s perfect for soaking up pastas and stews or served alongside a fresh salad for a light yet satisfying meal.
Creative Ways to Present
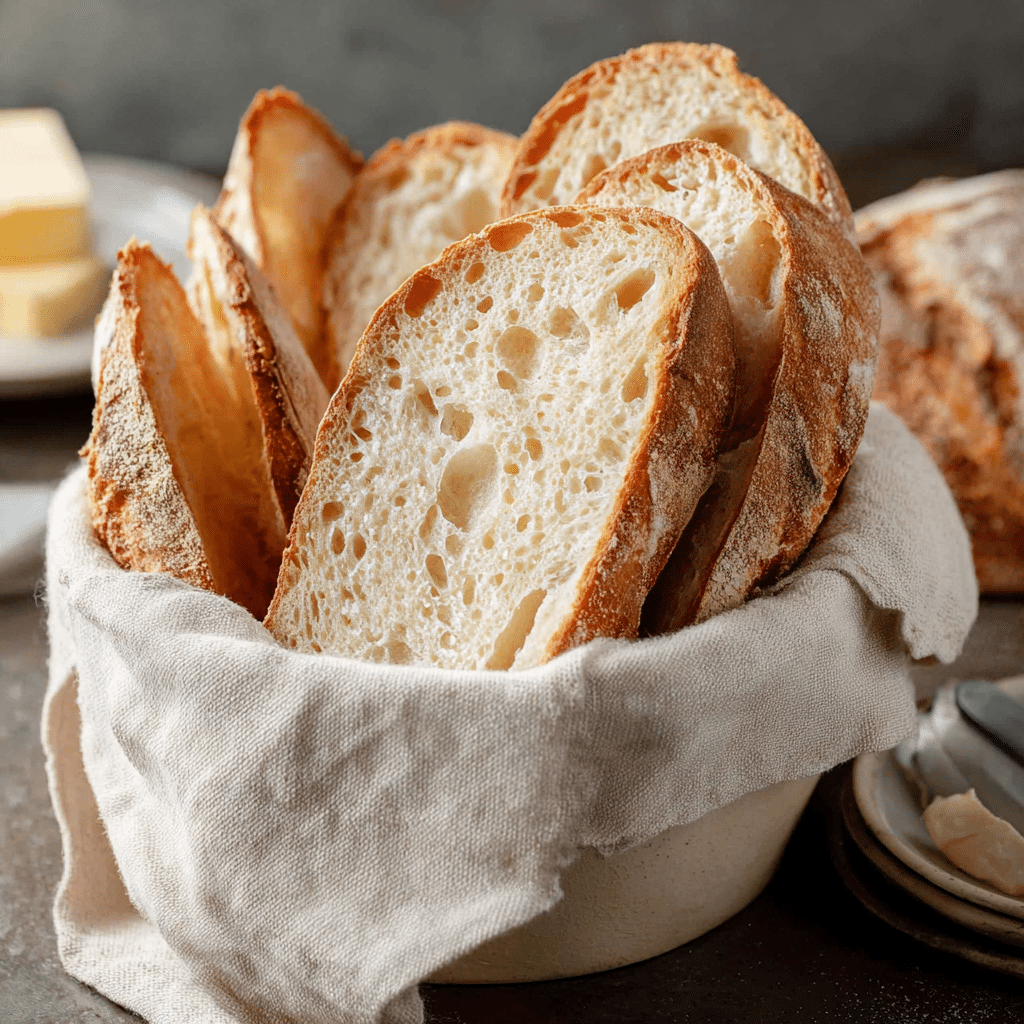
Impress family or guests by slicing your loaf into thick, rustic pieces and arranging them in a bread basket. For a cozy touch, serve slices toasted with olive oil and a sprinkle of sea salt, or transform them into gourmet bruschetta with tomatoes and basil. There’s no limit to the ways you can showcase your Artisan Bread Recipe!
Make Ahead and Storage
Storing Leftovers
Artisan bread stays freshest when stored at room temperature in a paper bag or wrapped in a kitchen towel. This keeps the crust crisp and the crumb tender; plastic bags can make the crust soft and chewy, so avoid them unless you don’t mind sacrificing some crispness. Enjoy within 2 days for best results.
Freezing
If you want to make your bread last, slice the cooled loaf and freeze the pieces in a resealable bag. Frozen slices can be popped straight into the toaster or oven whenever a bread craving strikes—no need to thaw first!
Reheating
To revive that just-baked glow, heat slices in a 350°F oven for 5 to 10 minutes, or warm them in the toaster for extra crunch. This brings back the lovely crust and airy texture that makes this Artisan Bread Recipe extraordinary every time.
FAQs
Can I use whole wheat flour in this recipe?
Yes! Substitute part or all of the all-purpose flour with whole wheat for a heartier flavor and denser crumb. You may need to add a tablespoon or two extra warm water, as whole wheat flour absorbs more liquid.
What is the best way to tell if my bread is done baking?
The loaf should be deep golden brown and sound hollow when tapped on the bottom. If you’re unsure, you can insert an instant-read thermometer—the internal temperature should be about 200°F.
Can I add herbs, cheese, or other mix-ins?
Absolutely! Right after combining the dough, gently fold in ingredients like fresh herbs, shredded cheese, chopped olives, or toasted seeds for endless variations on this classic Artisan Bread Recipe.
Why do I need to cool the bread before slicing?
Cooling allows the interior crumb to finish setting, making for cleaner slices and preventing a gummy texture. The wait can be tough but it’s worth it for the perfect slice!
Can I use this recipe with a sourdough starter?
While this recipe is designed for commercial yeast, you can try replacing some or all of the yeast with active sourdough starter; just be sure to adjust rise times considerably, as natural fermentation works much slower than store-bought yeast.
Final Thoughts
If you’ve ever wanted to bake a showstopping loaf without complicated technique, give this Artisan Bread Recipe a try. The results are always spectacular, and there’s truly nothing like the pride (and scent!) of fresh bread in your own kitchen. Roll up your sleeves and experience the magic for yourself—you’ll be baking it again and again!
Print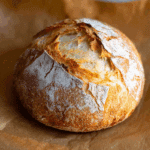
Artisan Bread Recipe
- Prep Time: 5 minutes
- Cook Time: 25-30 minutes
- Total Time: Approximately 2 hours 30 minutes
- Yield: 12 slices
- Category: Bread
- Method: No-Knead Baking
- Cuisine: Artisan
- Diet: Vegetarian
Description
This no-knead artisan bread recipe is incredibly simple, requiring just three basic ingredients and minimal effort. The result is a delicious, crusty loaf with a soft interior, making it an ideal choice for those new to baking bread.
Ingredients
Dry Ingredients:
- 3 cups (395 grams) all-purpose flour or bread flour
- ½ tablespoon kosher salt
- ¼ ounce instant or active dry yeast packet (or 2 ¼ teaspoons)
Wet Ingredients:
- 1 ½ cups warm water (105°F)
Instructions
- Mix Dry Ingredients: In a large bowl, combine flour, salt, and yeast.
- Add Water: Pour warm water over dry ingredients and mix until combined. Dough should be sticky but manageable.
- Let Rise: Cover bowl and let rise at room temperature for 2 to 10 hours or overnight for best flavor.
- Shape Dough: Turn dough onto a floured surface, form into a round loaf, or divide into two loaves.
- Preheat and Bake: Preheat oven, then bake the bread until golden brown and crusty.
- Cool and Store: Cool the bread on a rack before slicing and store in a paper bag.
Notes
- Rest dough for at least 2 hours, up to overnight for better flavor.
- Experiment with whole wheat flour or add various ingredients for different flavors.
- Store bread properly for freshness and consider freezing for longer storage.
- Reheat slices to refresh the crust before serving.
Nutrition
- Serving Size: 1 slice
- Calories: 120
- Sugar: 0.1g
- Sodium: 200mg
- Fat: 0.5g
- Saturated Fat: 0.1g
- Unsaturated Fat: 0.3g
- Trans Fat: 0g
- Carbohydrates: 25g
- Fiber: 1g
- Protein: 4g
- Cholesterol: 0mg

