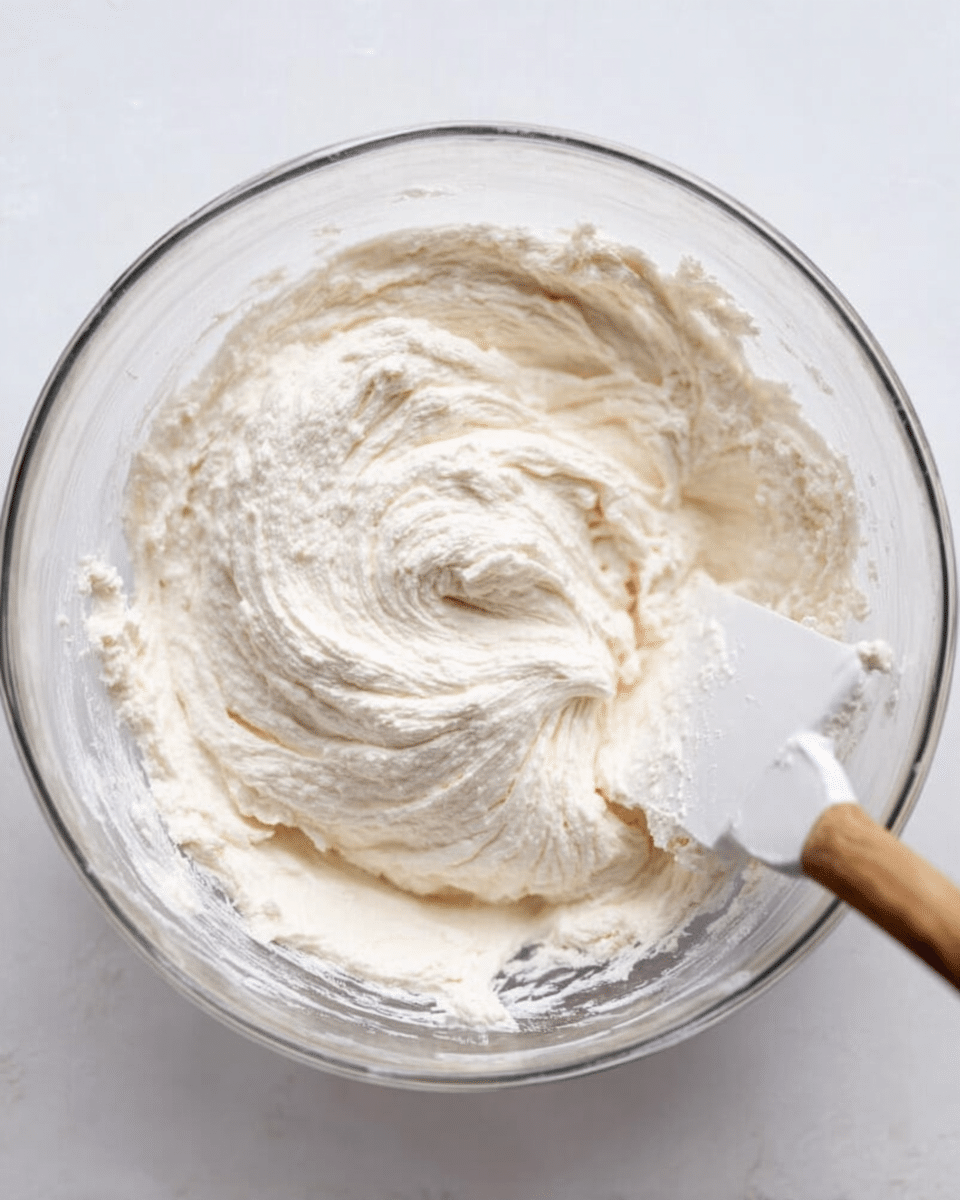
Step aside, traditional buttercream—there’s a new favorite in town! Ermine Frosting is that silky, cloud-like topping everyone raves about once they’ve tasted it. Perfectly balanced in sweetness, with a unique creamy texture that comes from its cooked milk and flour base, Ermine Frosting is the best-kept secret for dressing up cakes, cupcakes, and more. If you’re craving something that’s just sweet enough and impossibly smooth, this is the dreamiest way to finish your next bake.
Ingredients You’ll Need
One of the best things about making Ermine Frosting is just how simple these everyday ingredients are—yet each one is crucial, transforming your mixture into a dreamy, velvety delight. Here’s how they all play an important role.
- Whole milk: This creates the creamy, pudding-like base that gives Ermine Frosting its signature soft texture.
- All-purpose flour: A surprising addition, flour thickens the milk and helps stabilize the finished frosting for a spreadable, pipeable texture.
- Unsalted butter: Room temperature is key! Butter adds richness and structure, ensuring the frosting is fluffy and decadent without being heavy.
- Granulated sugar: Instead of powdered sugar, regular granulated sugar dissolves beautifully to sweeten without that gritty aftertaste.
- Vanilla extract: Just a splash adds warmth and rounds out the flavor, making the frosting taste truly nostalgic and special.
How to Make Ermine Frosting
Step 1: Cook the Milk and Flour
In a medium saucepan set over medium heat, whisk together the milk and flour. Keep whisking constantly—don’t walk away! After about 3 to 5 minutes, you’ll see the mixture thicken up until it looks like a very thick pudding. Once it can coat the back of a spoon and all lumps are gone, take it off the heat. This step is what gives Ermine Frosting its signature plush feel.
Step 2: Cool the Mixture
After cooking, let your milk and flour mixture cool completely to room temperature. This is non-negotiable; if it’s warm, your butter will melt and the frosting will lose that whipped, feathery texture. You can speed up cooling by transferring it to a separate bowl and giving it a little stir every so often.
Step 3: Cream Butter and Sugar
In the bowl of your stand mixer fitted with the paddle attachment, beat the butter and granulated sugar together on medium speed until they’re light and fluffy—this usually takes 2 to 3 minutes. Don’t forget to pause and scrape down the sides; you want all that sugar to blend in perfectly, so your Ermine Frosting is ultra-smooth.
Step 4: Add the Cooled Pudding Base
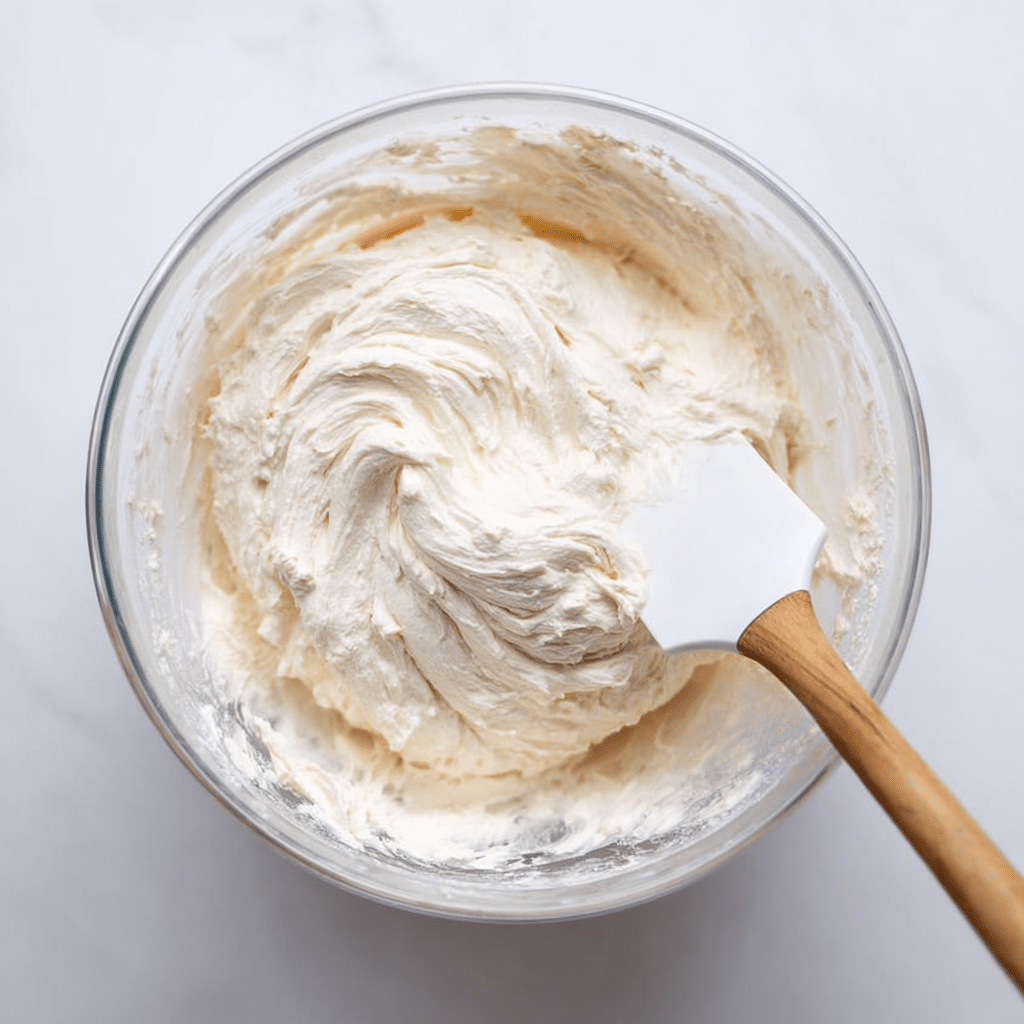
Once your milk and flour mixture is cooled, add it into the butter and sugar. Beat on medium-high speed for another 2 to 3 minutes, stopping a couple times to scrape the bowl. The mixture will look a little odd at first, but soon you’ll see everything blend into one cohesive, satiny frosting.
Step 5: Whip in the Vanilla
Swap in the whisk attachment, then pour in that splash of vanilla. Turn the mixer to high and whip away for 7 to 8 minutes. This final step is where the magic happens—watch as the Ermine Frosting becomes light, silky, and glossy, absolutely perfect for frosting your next masterpiece.
How to Serve Ermine Frosting
Garnishes
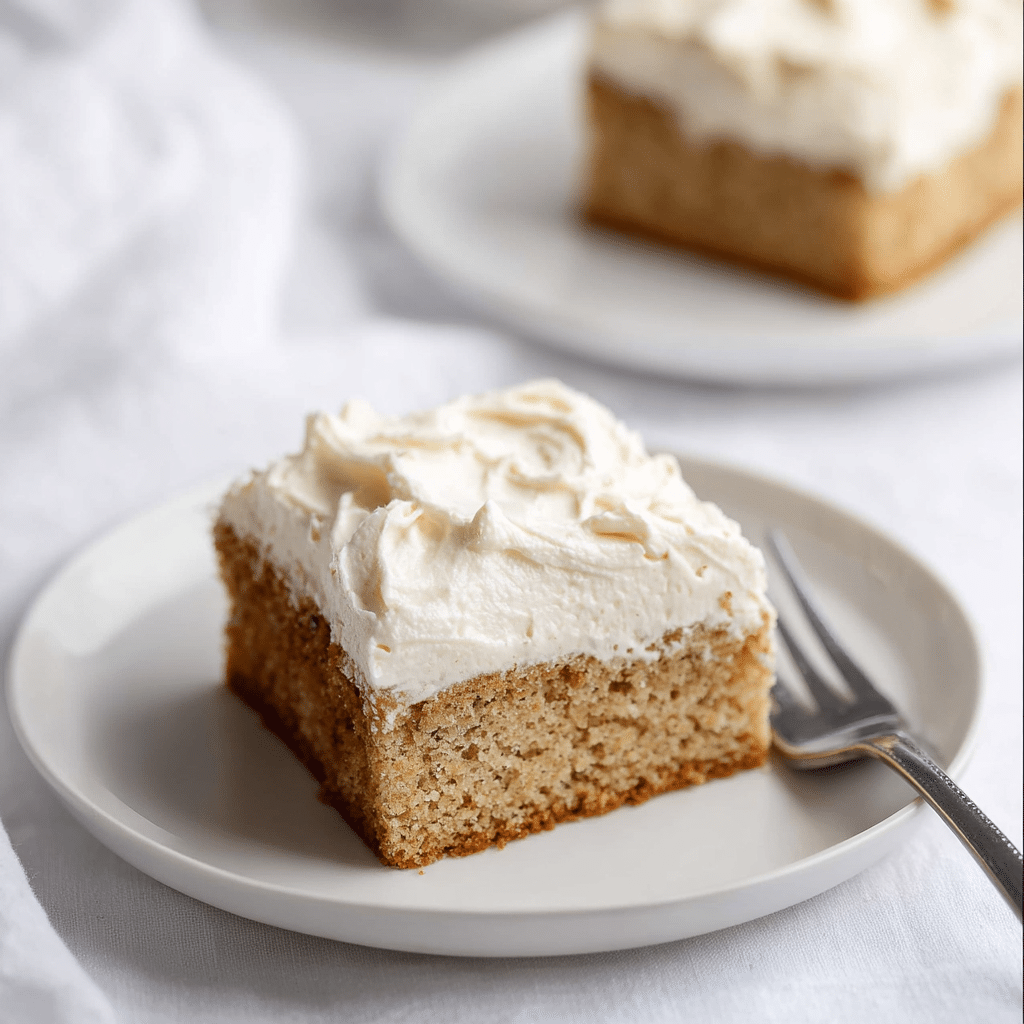
Thanks to its smooth, pillow-soft texture, Ermine Frosting takes beautifully to a variety of garnishes. Sprinkle cakes or cupcakes with fresh berries for a pop of color, or try a handful of toasted nuts for crunch. Chocolate curls or a dusting of cocoa powder add a bit of elegance and make each slice feel extra-special.
Side Dishes
When Ermine Frosting is topping a classic cake or cupcake, simple accompaniments like a scoop of vanilla bean ice cream or a handful of fresh fruit are perfect. These lighter sides let the frosting shine while still offering a delightful contrast on your dessert plates.
Creative Ways to Present
Get playful: fill whoopie pies or cookie sandwiches with Ermine Frosting for a retro treat, or use it to frost mini-layer cakes and top with edible flowers. For special occasions, pipe decorative swirls or rosettes—the frosting holds its shape wonderfully and gives homemade bakes the most polished look!
Make Ahead and Storage
Storing Leftovers
Store any extra Ermine Frosting in an airtight container in the refrigerator for up to five days. Before using, allow it to come to room temperature and give it a quick whip to restore its soft, fluffy texture.
Freezing
For longer storage, Ermine Frosting can be frozen! Simply place it in a freezer-safe, airtight container and freeze for up to one month. Thaw overnight in the refrigerator when you’re ready to use, then whip again before spreading or piping.
Reheating
While you don’t want to heat this frosting in the microwave, you can let it gently return to room temperature on the counter. Once softened, whip it briefly with your mixer to revive its pillowy lightness and silky finish.
FAQs
Can I use non-dairy milk for Ermine Frosting?
Yes, you can use a non-dairy milk such as almond, oat, or soy, though the final flavor and texture may vary slightly. Choose a full-fat option for best results, as thinner milks may create a looser frosting.
Why is my Ermine Frosting grainy?
Graininess usually happens if the sugar hasn’t fully dissolved or if the milk-and-flour mixture wasn’t completely smooth to begin with. Make sure to really cream the butter and sugar, and cook the milk and flour mixture until it’s thick and lump-free.
Can Ermine Frosting be colored or flavored?
Absolutely! A few drops of gel food coloring or a dash of different extracts—like almond, lemon, or peppermint—work beautifully. Just add them during the final whipping stage for the most even results.
Is Ermine Frosting good for piping decorations?
Yes! It holds its shape much better than many frostings, making it ideal for swirls, rosettes, or even detailed borders. Just be sure it’s at the right temperature and consistency before piping.
Can I make Ermine Frosting without a stand mixer?
You can! A handheld electric mixer will do the trick, though it may take a minute or two longer to achieve that signature whipped texture. Just be patient and keep mixing until you see that beautiful fluffiness.
Final Thoughts
If you’ve never tried Ermine Frosting, this is the sign you’ve been waiting for. It’s deliciously light, perfectly sweet, and sure to transform your cakes and cupcakes into something unforgettable. Give it a try—and get ready to win over every frosting skeptic you know!
Print
Ermine Frosting Recipe
- Prep Time: 15 minutes
- Cook Time: 5 minutes
- Total Time: 20 minutes
- Yield: 2 cups
- Category: Dessert
- Diet: Vegetarian
Description
Ermine Frosting, also known as milk frosting, flour buttercream, or $300 frosting, is a silky smooth frosting made from a cooked milk and flour mixture, sugar, and butter. It is perfectly sweet!
Ingredients
For the Ermine Frosting:
- 1 cup (245 g) whole milk
- 5 tablespoons all-purpose flour
- 1 cup (2 sticks / 227 g) unsalted butter, room temperature
- 1 cup (200 g) granulated sugar
- 1 teaspoon vanilla extract
Instructions
- Cook Milk and Flour: In a medium saucepan over medium heat, whisk together the milk and flour. Cook, whisking constantly, for 3-5 minutes, or until no lumps remain and the mixture thickens and resembles a very thick pudding. It should coat the back of a spoon. Remove the pan from the heat and let the mixture cool to room temperature.
- Cream Butter and Sugar: In the bowl of a stand mixer fitted with the paddle attachment, cream together the butter and sugar on medium speed until light and fluffy (2-3 minutes). Stop the mixer and use a rubber spatula to scrape down the sides of the bowl.
- Add Milk Mixture: Add the cooled milk mixture to the bowl of the stand mixer. Beat on medium-high speed until the frosting is light and fluffy (2-3 minutes), pausing to scrape down the sides of the bowl as needed.
- Finalize Frosting: Switch to the whisk attachment. Add vanilla and mix on high for 7-8 minutes, or until the frosting is smooth and creamy.
Nutrition
- Serving Size: 2 cups
- Calories: 2673 kcal

