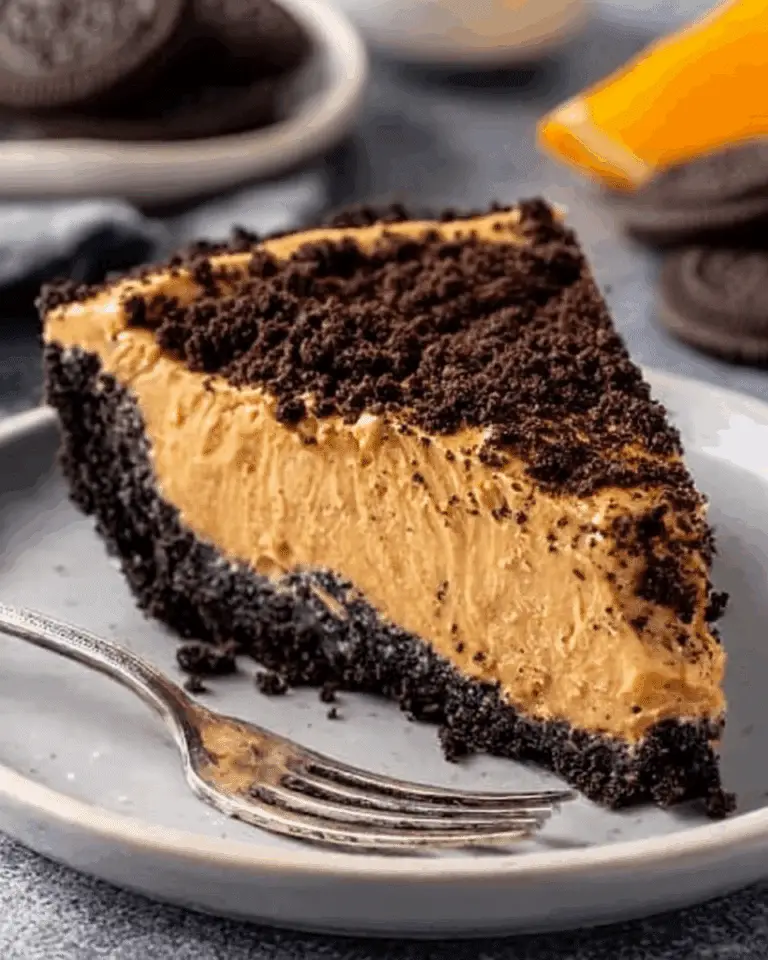
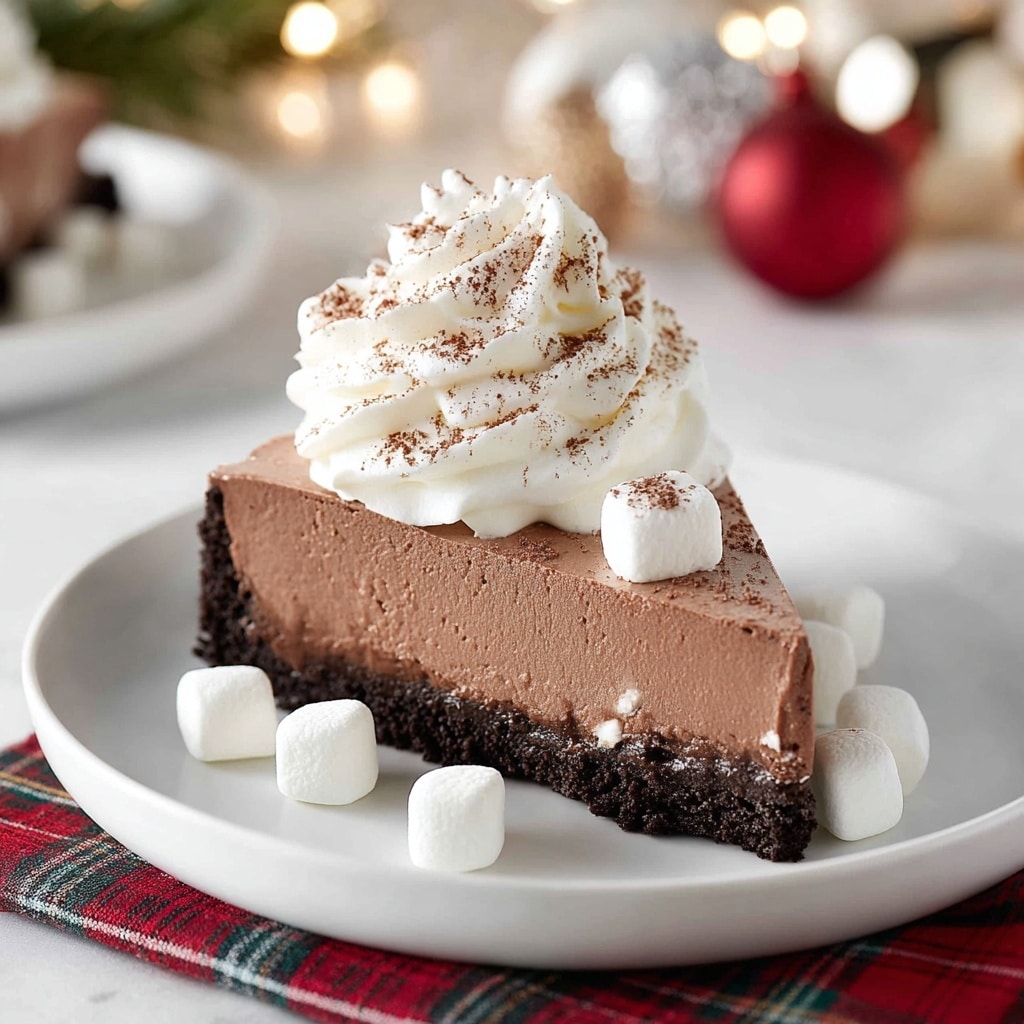
If ever there were a dessert that bridges the cozy comfort of sipping cocoa by the fire and the luxurious indulgence of decadent cheesecake, it’s Hot Cocoa Cheesecake. Creamy, rich, and built on a chocolatey Oreo crust, each velvety bite is a playful nod to the classic winter drink—marshmallows on top and all. This show-stopping treat draws people in with its familiar flavors and keeps them coming back for more with every forkful of smooth, dreamy chocolate. Perfect for holiday gatherings, chilly nights, or when you’re simply ready to spoil yourself, Hot Cocoa Cheesecake is destined to become your new favorite guilty pleasure.
Ingredients You’ll Need
Gathering the right ingredients is half the fun, and with Hot Cocoa Cheesecake, every item on the list is carefully picked to create a truly memorable dessert. Simple but essential, each component brings its own flair to the taste, texture, or eye-catching finish of this dreamy cake.
- Oreo cookies: These iconic cookies form a chocolatey, crunchy base that anchors every smooth bite.
- Unsalted butter: Melted and mixed into the crust, it binds the cookie crumbs together for sliceable perfection.
- Cream cheese: Make sure it’s room temperature for a creamy, lump-free filling that defines true cheesecake goodness.
- Granulated sugar: Sweetens the tangy cream cheese and perfectly balances all that chocolate.
- Large eggs: At room temperature, they create a custardy, smooth texture—adding them one at a time guarantees the silkiest filling.
- Pure vanilla extract: Just a splash brings warmth and complexity to the chocolatey richness.
- Semisweet chocolate chips: They’re melted down for a deep, satisfying cocoa flavor that’s never too sweet.
- Flavored coffee creamer (or heavy cream): Marshmallow Hot Cocoa Creamer takes the filling over the top, but plain heavy cream works just as beautifully.
- All-purpose flour: Just a little stabilizes the filling, giving the cheesecake clean, bakery-style slices.
- Whipped cream: Clouds of whipped cream are a must for the most inviting, swoon-worthy topping.
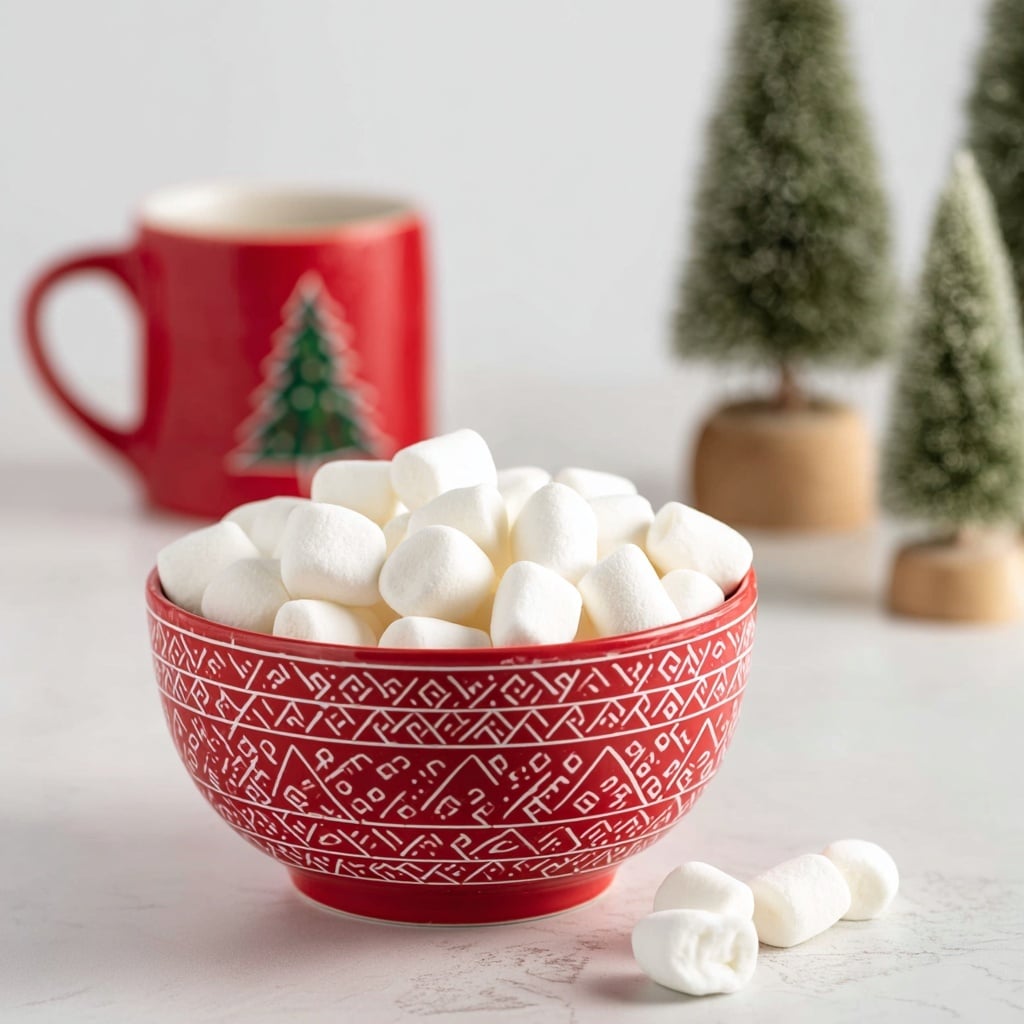
- Mini white marshmallows: These playful marshmallows finish the Hot Cocoa Cheesecake with a nostalgic touch that’s pure childhood joy.
How to Make Hot Cocoa Cheesecake
Step 1: Prepare the Pan
Start by preheating your oven to 350°F. Tightly wrap your 9-inch springform pan in heavy-duty foil—this step is a lifesaver when baking in a water bath, keeping leaks at bay for a pristine crust. If you’re extra cautious, slide the foil-wrapped pan into an oven bag for even more peace of mind. A light mist of nonstick cooking spray inside the pan ensures your Hot Cocoa Cheesecake will release cleanly, so you won’t waste a single crumb.
Step 2: Make and Bake the Crust
Come armed with cookie enthusiasm! Pulse 20 Oreo cookies in a food processor until you have fine, sandy crumbs. Mix in the melted butter, then press the mixture firmly into the bottom of your prepared pan. Quick-bake the crust for eight minutes, then set it aside on a wire rack to cool while the aroma of chocolate fills your kitchen. This crisp, chocolate base is the foundation for everything to come.
Step 3: Get the Water Bath Ready
Fill a pot or kettle with water and bring it to a boil. The water bath might seem fussy, but it’s the secret to cheesecake that’s gorgeously smooth and free of cracks—worth every second of effort!
Step 4: Melt the Chocolate
Combine the semisweet chocolate chips and your marshmallow hot cocoa creamer (or heavy cream) in a large microwave-safe bowl. Microwave at 50 percent power in 30-second bursts, stirring well after each, until the chocolate is luxuriously smooth and silky. Let it cool slightly while you get to work on the filling. This luscious chocolate mixture is what transforms your cheesecake into its Hot Cocoa Cheesecake destiny.
Step 5: Mix the Filling
In the bowl of a stand mixer fitted with the paddle attachment, beat the cream cheese until it’s smooth and creamy. Add in the sugar and beat again for sweet, tangy perfection. Crack in the eggs one at a time, mixing thoroughly and scraping down the bowl between each addition. Blend in the vanilla extract, then gently pour in the cooled chocolate mixture. Beat until fully combined, then mix in the flour for structure. Give the sides of the bowl one last scrape and fill your kitchen with anticipation.
Step 6: Assemble and Bake
Pour the chocolate cheesecake batter onto your cooled Oreo crust, smoothing out the top with a spatula. Carefully set the pan inside a larger roasting pan, then pour the boiling water around the cheesecake until it comes halfway up the sides. Bake for 60 minutes—the edges should look set, but the center will retain a lovely, subtle jiggle. Turn off the oven, crack open the door, and let your cheesecake rest in the gentle warmth for one hour, letting it finish its magical transformation. Then, remove it from the water bath and cool to room temperature on a wire rack.
Step 7: Chill and Serve
Once your Hot Cocoa Cheesecake is completely cooled, transfer it to the fridge and chill for at least eight hours (overnight is best for flavor and structure). Before serving, unleash your creativity! Pile on clouds of whipped cream and scatter Campfire® Mini White Marshmallows for that signature hot cocoa finish. Get ready for cheers and second helpings—this is a dessert finale everyone remembers.
How to Serve Hot Cocoa Cheesecake
Garnishes
The fun is in the finishing touches! For true hot cocoa vibes, don’t skimp on a generous swirl of whipped cream and a sprinkle of mini white marshmallows. If you’re feeling extra playful, a dusting of cocoa powder or a drizzle of chocolate sauce turns every slice into a showstopper. Add chocolate shavings or even a few chocolate curls to make your Hot Cocoa Cheesecake look bakery-made.
Side Dishes
With something this dreamy, simple sides are best. Pour a round of strong coffee, espresso, or even a mug of hot cocoa for those extra wintry feels. Fresh berries like raspberries or strawberries offer a burst of brightness to contrast the richness, and a crisp green salad can balance out any over-the-top indulgence from the main meal that came before the dessert course.
Creative Ways to Present
If you want to take the presentation up a notch, try serving individual slices on pretty plates with extra dollops of whipped cream and a few scattered marshmallows around the edge. For festive gatherings, arrange mini Hot Cocoa Cheesecake bites in cupcake liners for easy serving. You could even use this recipe to make cheesecake bars or parfait jars—layering all the elements for a fun, portable dessert.
Make Ahead and Storage
Storing Leftovers
Your Hot Cocoa Cheesecake is every bit as delicious the next day. Once cooled and topped as desired, cover it loosely with plastic wrap or foil and keep it refrigerated. Properly stored, it will stay fresh and creamy for up to 4–5 days, making it ideal for entertaining or midnight snacking alike.
Freezing
If there’s any left to freeze (a big “if”!), Hot Cocoa Cheesecake handles low temperatures beautifully. Simply wrap the (cooled and undecorated) cheesecake tightly in plastic wrap, then in foil. Freeze for up to two months. Thaw overnight in the refrigerator before unwrapping and finishing with whipped cream and marshmallows.
Reheating
Hot Cocoa Cheesecake is best served chilled, not reheated, to keep its creamy texture intact. If you like your slice just a touch softer, let it sit at room temperature for 20–30 minutes before serving. Avoid microwaving, as it can compromise that luscious texture and cause the chocolate to separate.
FAQs
Can I use regular heavy cream instead of the flavored creamer?
Absolutely! Heavy cream may not give the marshmallow hint, but it creates an equally smooth and rich chocolate filling. For a subtle twist, you can add a splash of marshmallow syrup or simply enjoy the classic chocolate-vanilla combo.
Is the water bath really necessary for Hot Cocoa Cheesecake?
It really is! The water bath ensures gentle, even heat around the cheesecake, helping to prevent cracks and giving the filling that silky, custard-like finish. If you skip the water bath, your cheesecake may bake unevenly or develop deep cracks on top, though it will still taste delicious.
Can I make Hot Cocoa Cheesecake ahead of time?
Yes, in fact, this cheesecake is even better made a day (or two) in advance! The chilled resting time allows the flavors to deepen and the texture to set, so your dessert slices up perfectly when guests arrive.
How do I know when the cheesecake is fully baked?
The edges will look set, but when you gently jiggle the pan, the center should wobble slightly (like Jell-O). Trust this gentle jiggle—it means your cheesecake will finish setting as it cools for the perfect creamy bite.
Can I use a different cookie for the crust?
Definitely! While Oreo cookies keep everything deeply chocolatey, you can swap in chocolate wafer cookies or even graham crackers for a change in texture and flavor. Just follow the same instructions for crushing and combining with melted butter.
Final Thoughts
If you’re looking for a showstopping dessert that combines nostalgia and pure indulgence, Hot Cocoa Cheesecake delivers on every level. Treat yourself and your loved ones to a slice (or two) of this rich, chocolatey, marshmallow-topped wonder—you’ll be making new, delicious memories with every bite!
Print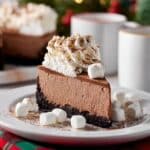
Hot Cocoa Cheesecake Recipe
- Prep Time: 25 minutes
- Cook Time: 60 minutes
- Total Time: 13 hours 25 minutes
- Yield: 12 servings
- Category: Dessert
- Method: Baking
- Cuisine: American
- Diet: Vegetarian
Description
Indulge in the rich and decadent Hot Cocoa Cheesecake, a delightful fusion of creamy cheesecake with the irresistible flavors of hot cocoa. This recipe is a perfect blend of sweetness and chocolatey goodness, topped with fluffy whipped cream and mini white marshmallows for an extra touch of indulgence.
Ingredients
For the Crust
- 20 Oreo cookies, crushed in a food processor until they form fine crumbs
- 3 tablespoons unsalted butter, melted
For the Cheesecake
- 4 8-ounce packages cream cheese, room temperature
- 1/2 cup granulated sugar
- 4 large eggs; room temperature
- 2 teaspoons pure vanilla extract
- 2 cups semisweet chocolate chips
- 1/2 cup flavored coffee creamer or heavy cream
- 2 tablespoons all-purpose flour
For the Topping
- Whipped cream
Instructions
- Preheat the Oven: Preheat the oven to 350°F. Prepare a water bath by tightly wrapping a 9-inch springform pan in foil to prevent leaks. Optionally, place the foil-wrapped pan in an oven bag. Lightly grease the pan.
- Prepare the Crust: Mix Oreo crumbs and melted butter, press into the pan, and bake for 8 minutes. Cool on a wire rack.
- Prepare the Chocolate Mixture: Melt chocolate chips and coffee creamer in the microwave, stirring until smooth. Let it cool.
- Make the Cheesecake Filling: Beat cream cheese until smooth. Add sugar, eggs, and vanilla, mixing well. Incorporate the chocolate mixture and flour until smooth.
- Assemble and Bake: Pour the batter into the crust. Place the pan in a larger pan, pour boiling water halfway up the side of the cheesecake pan, and bake for 60 minutes. Allow the cheesecake to cool in the oven after turning it off.
- Chill and Serve: Cool the cheesecake, refrigerate for at least 8 hours, and top with whipped cream and mini white marshmallows before serving.
Notes
- For a neat presentation, top with additional mini white marshmallows and a drizzle of chocolate sauce.
- Ensure all ingredients are at room temperature for a smooth cheesecake filling.
- Use a water bath to prevent cracks on the surface of the cheesecake.
Nutrition
- Serving Size: 1 slice
- Calories: 490
- Sugar: 27g
- Sodium: 340mg
- Fat: 35g
- Saturated Fat: 20g
- Unsaturated Fat: 12g
- Trans Fat: 0g
- Carbohydrates: 39g
- Fiber: 2g
- Protein: 8g
- Cholesterol: 140mg

