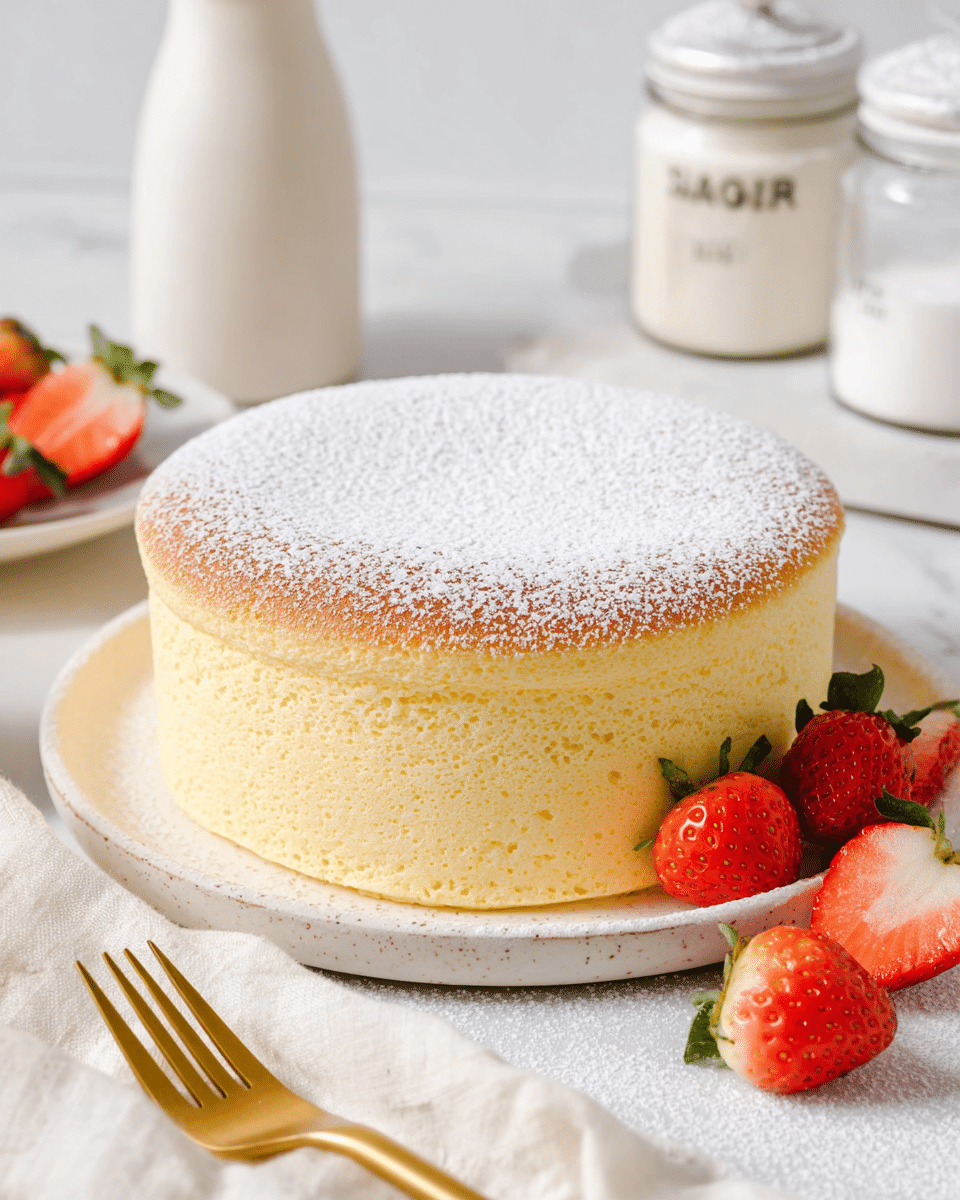
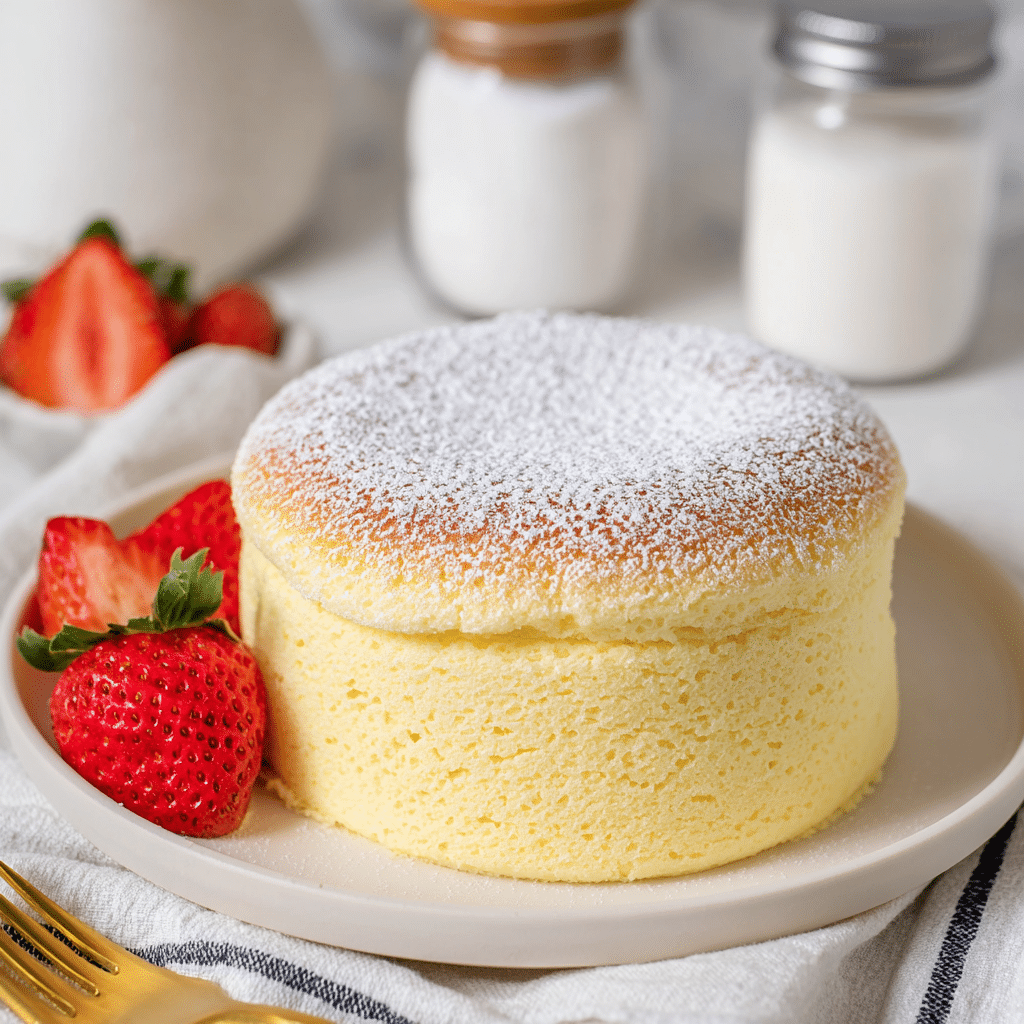
If you’ve ever wished for a cake that could almost float off the plate, Jiggly Japanese Cheesecake is the whimsical dessert you need in your life. Imagine a cloud that melts on your tongue, feels impossibly light, and still bursts with rich cheesecake flavor, all topped with an irresistible wobble that’s pure joy to watch. This Japanese take on cheesecake takes patience, a few specific techniques, and some classic ingredients — but once you take your first bite, you’ll know exactly why it’s become such a sensation.
Ingredients You’ll Need
The ingredient list for Jiggly Japanese Cheesecake is refreshingly short, but each item plays its own essential role. From the creaminess of the cheese to the bounce from the eggs, every element matters!
- Whole Milk: Adds moisture and helps create that soft, fluffy crumb throughout the cheesecake.
- Unsalted Butter: Brings a subtle richness and assists in that perfectly smooth base.
- Full-Fat Cream Cheese: The star ingredient for creaminess and classic cheesecake tang.
- Cake Flour: Gives the cake its ethereal lightness; all-purpose flour won’t yield the same result.
- Cornstarch: Helps set the delicate structure without weighing anything down.
- Salt: Just a pinch brings out the sweetness and balances all the flavors.
- Eggs (medium, separated): Yolks add color and silkiness, while whipped whites give the cake its iconic jiggle.
- Fine Sugar: Sweetens and stabilizes the meringue. If your sugar isn’t superfine, pulse regular sugar in a blender.
How to Make Jiggly Japanese Cheesecake
Step 1: Prep the Pan & Oven
Start by lining your 8-inch (20 cm) round cake pan with parchment on both the bottom and the sides to ensure a flawless release. Preheat your oven to 150°C (300°F). For that all-important, gentle steam, fill a larger baking pan halfway with hot water — this water bath is your secret to perfect, crack-free jiggly Japanese cheesecake.
Step 2: Heat & Mix Base
In a small, heavy saucepan over low heat, combine the cream cheese, unsalted butter, and whole milk. Stir until everything’s completely smooth and melted together — this step transforms those everyday ingredients into a luscious base. Remove from heat and immediately sift in the cake flour, cornstarch, and a pinch of salt, whisking until the batter is silky and lump-free.
Step 3: Add Egg Yolks
Let the cream cheese mixture cool slightly, then stir in each egg yolk one at a time, mixing thoroughly after each addition. You’ll see the color and texture become even richer and smoother as you blend everything together. This is what gives your cheesecake color and creaminess.
Step 4: Whip the Whites
Time for some kitchen magic! In a clean, dry bowl, beat the egg whites on low speed, gradually adding fine sugar in small spoonfuls. Once all the sugar is added, increase the speed and whip until you achieve soft, billowy peaks. This meringue is what gives the Jiggly Japanese Cheesecake its signature bounce and softness. Note: If you only have regular sugar, just blend it briefly for a finer texture before measuring — it’ll help the meringue turn out perfectly glossy and airy.
Step 5: Fold & Bake
Using a large spatula, gently fold the meringue into the egg yolk batter in three additions. Be patient and don’t overmix; you want to keep as much air as possible for maximum jiggle. Pour the airy batter into your lined cake pan and place it in your prepared water bath. Bake as follows: 30 minutes with the oven closed, then 20 minutes with the door slightly ajar, and finally 20 minutes with the oven closed again. This gentle baking schedule sets the cake’s delicate texture and ensures an even, golden top.
Step 6: Check for Doneness
Your cheesecake is ready when the top is puffed and golden with a soft, happy wobble in the center. The cake should feel springy but not firm — that’s the hallmark of a just-right jiggly Japanese cheesecake. Don’t worry if it has a little “dance” when you gently shake the pan!
Step 7: Flip and Finish
Carefully remove the cake from the oven and let it settle for a few minutes. Run a thin knife around the edge, then gently flip the cheesecake onto a plate (to remove the parchment) and flip it right side up again. This double flip keeps the cake ultra-airy and stable — and now it’s ready for its big jiggle reveal!
How to Serve Jiggly Japanese Cheesecake
Garnishes
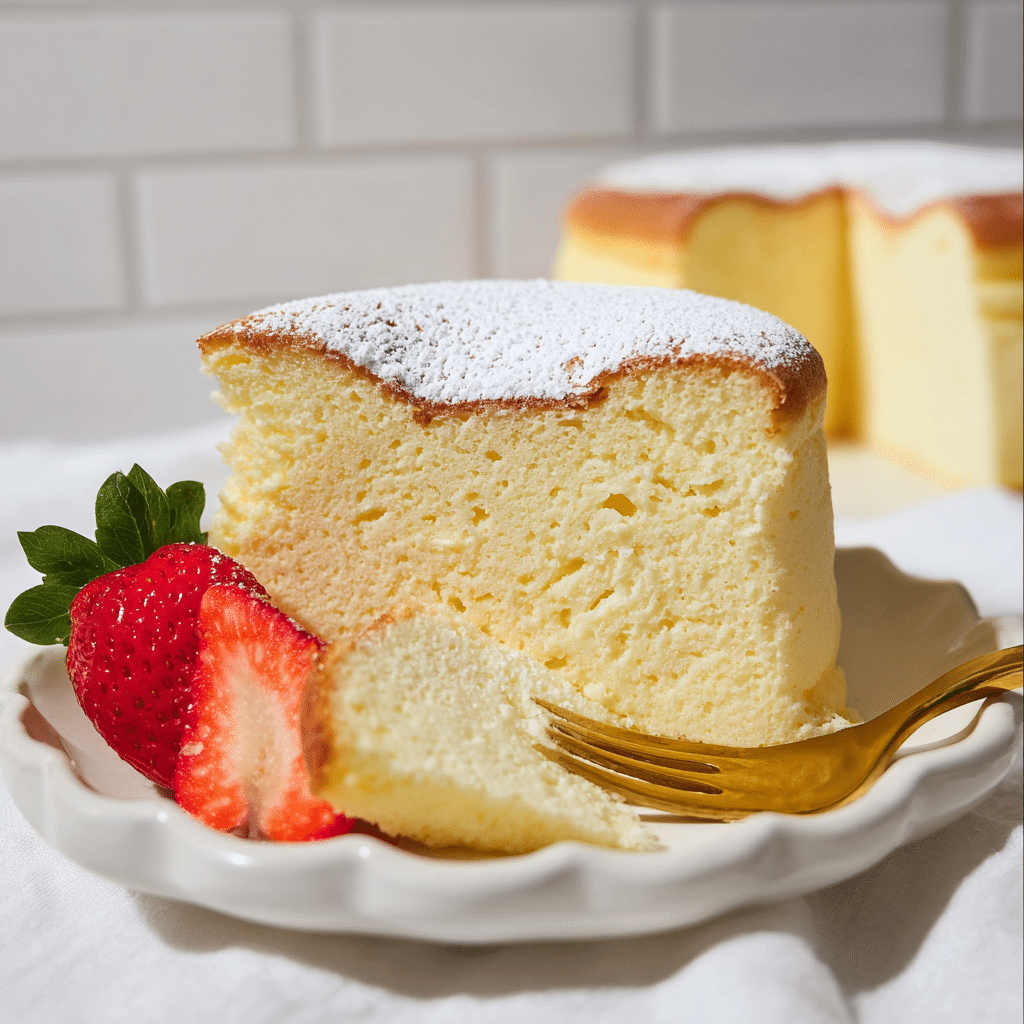
The classic way to serve jiggly Japanese cheesecake is simple: dust the top with a light shower of powdered sugar for a snowy look. For extra flair, add a few fresh berries or paper-thin lemon slices. A sprig of mint never hurts if you’re in a festive mood!
Side Dishes
Go for contrast: a tart berry compote, a dollop of whipped cream, or a tiny spoonful of tangy Greek yogurt. The subtle sweetness of the cake pairs beautifully with fruit-based sauces, but it’s also wonderful all on its own with a cup of green tea or strong black coffee.
Creative Ways to Present
If you’re hosting or celebrating, try baking mini versions in cupcake molds for individual “jiggly” desserts, or stack slices with whipped cream and strawberries for a playful take on shortcake. Another idea? Use cookie cutters to make adorable shapes for afternoon tea. Watching a mini Jiggly Japanese Cheesecake jiggle is bound to make everyone smile!
Make Ahead and Storage
Storing Leftovers
Leftover cheesecake should be stored (once fully cooled) in an airtight container in the fridge, where it will stay fresh for up to three days. The texture remains surprisingly lovely, especially if you let slices sit at room temperature for a bit before serving.
Freezing
For longer storage, you can freeze whole or sliced cheesecake. Wrap portions tightly in plastic wrap and foil or place them in freezer-safe containers. Thaw overnight in the fridge — the texture will still be soft and jiggly, though slightly denser than fresh.
Reheating
Jiggly Japanese Cheesecake is best served chilled or at cool room temperature, but if you prefer a bit of warmth, gently microwave individual slices for 5–10 seconds (not longer, or you’ll lose that iconic jiggle!). Microwaving also softens the cake beautifully without making it rubbery.
FAQs
Why did my jiggly Japanese cheesecake crack on top?
Cracks are often the result of sudden temperature changes or overbaking. Be sure to use a water bath, and follow the step-by-step baking times, especially leaving the oven cracked open when indicated. This helps the cake bake gently and evenly.
Can I use all-purpose flour instead of cake flour?
Cake flour is much lighter and gives the cheesecake its signature sponge-like texture. All-purpose flour will work in a pinch, but your cheesecake will be denser and less jiggly. For best results, stick with cake flour.
How do I know when my Japanese cheesecake is done?
The top should be golden and puffed, with a slight jiggle in the center. If you gently press it, the surface should bounce back. Resist the urge to bake longer — a little wobble means the center will be soft and light once cooled.
Why do I need to separate the eggs?
Separating the eggs, then whipping the whites into a meringue, is the key to the cheesecake’s airy texture and signature rise. Folding the meringue in gently creates the fluffiness and characteristic jiggly Japanese cheesecake wobble.
Can I make this cheesecake in advance?
Absolutely! In fact, Jiggly Japanese Cheesecake tastes even better after chilling for a few hours or overnight. Just keep it covered and chilled until you’re ready to serve — the flavor intensifies, and the texture stays soft and dreamy.
Final Thoughts
Baking a Jiggly Japanese Cheesecake is a true joy: it’s playful, inviting, and utterly delicious, whether you’re a baking pro or just trying it out for the first time. The process itself feels magical, and sharing the finished, jiggly result with friends and family is pure delight. Go on, give this cloud-like dessert a try — you’ll be so glad you did!
Print
Jiggly Japanese Cheesecake Recipe
- Prep Time: 30 minutes
- Cook Time: 1 hour 10 minutes
- Total Time: 1 hour 40 minutes
- Yield: 1 8-inch cheesecake
- Category: Dessert
- Method: Baking
- Cuisine: Japanese
- Diet: Vegetarian
Description
Enjoy the fluffy and light Jiggly Japanese Cheesecake with this easy-to-follow recipe. Delight your taste buds with the perfect balance of sweetness and creaminess in every bite.
Ingredients
Cheesecake Base:
- 120g whole milk
- 55g unsalted butter
- 226g full-fat cream cheese
- 40g cake flour
- 15g cornstarch
- A Pinch of salt
Egg Mixture:
- 5 medium eggs (separate yolks and whites)
- 75g fine sugar
Instructions
- Prep the Pan & Oven – Line an 8-inch (20 cm) round pan with parchment. Preheat oven to 150°C (300°F). Fill a large baking pan with hot water (halfway).
- Heat & Mix Base – Combine cream cheese, butter, and milk in a saucepan. Heat on low until smooth. Remove from heat. Sift in flour, cornstarch, and salt. Mix until lump-free.
- Add Egg Yolks – Stir in egg yolks one at a time, mixing well after each.
- Whip the Whites – Beat egg whites on low, gradually adding sugar in small batches. Increase speed until soft peaks form. Note: If your sugar is coarse, blend it briefly to make it superfine, then measure.
- Fold & Bake – Gently fold whipped whites into the batter with a spatula until well combined. Do NOT over mix. Pour batter into pan. Bake in water bath: 30 min (oven closed), 20 min (door slightly open), 20 min (oven closed again).
- Check for Doneness – Aim for a golden top, soft jiggle in the center, and springy texture.
- Final Touch – Once baked, gently flip the cheesecake onto a plate, then flip again.
Notes
- Ensure all ingredients are at room temperature for best results.
- Be careful not to overmix the batter to maintain the cake’s airy texture.
- Adjust sugar quantity based on personal preference for sweetness.
Nutrition
- Serving Size: 1 slice (assuming 8 slices per cake)
- Calories: 240 kcal
- Sugar: 12g
- Sodium: 200mg
- Fat: 16g
- Saturated Fat: 9g
- Unsaturated Fat: 5g
- Trans Fat: 0g
- Carbohydrates: 18g
- Fiber: 0.5g
- Protein: 6g
- Cholesterol: 140mg

