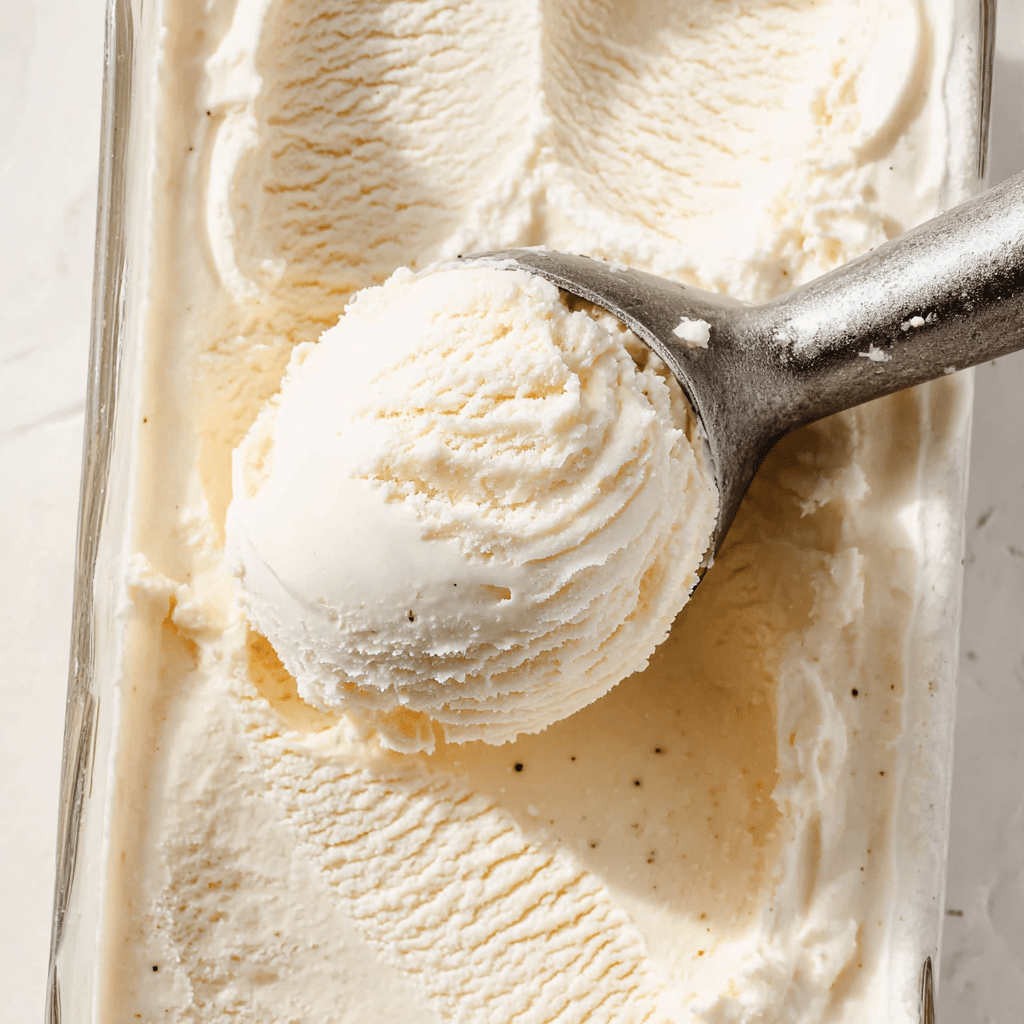
If you have ever wished for something luscious, dreamy, and delightfully simple, look no further than No-Churn Vanilla Ice Cream. This little homemade miracle is as classic as desserts come, yet so easy that anyone can become a homemade ice cream hero. With just a handful of kitchen staples and zero special equipment, you’ll have a creamy, scoopable treat that tastes like pure nostalgia in every bite.
Ingredients You’ll Need
It’s amazing that something this rich and satisfying comes together with just a few familiar ingredients. Each one plays a crucial role, giving body, silkiness, and that irresistible vanilla flavor we all love.
- Sweetened condensed milk: This gives the ice cream its creamy sweetness and helps create a scoopable texture without churning.
- Vanilla extract or vanilla bean paste: The star of the flavor show; use good-quality extract or paste for the most aromatic results.
- Pinch of salt: Just enough to enhance and sharpen every other ingredient’s flavor.
- Heavy whipping cream (chilled): Whipping this delivers a beautiful, airy lightness, transforming the base into real ice cream!
How to Make No-Churn Vanilla Ice Cream
Step 1: Prep Your Equipment
Get started by popping a large mixing bowl and a loaf pan into your freezer about thirty minutes before you begin. This little step keeps everything cold, whipping up maximum volume and helping your ice cream set beautifully later on.
Step 2: Mix Together the Flavor Base
In a medium bowl, stir together the sweetened condensed milk, vanilla extract (or vanilla bean paste if you want those gorgeous little specks), and a pinch of salt. Set this silky blend aside—it’s already smelling amazing!
Step 3: Whip the Cream
Time to bring out the electric mixer. Take the chilled bowl from the freezer, pour in the cold heavy cream, and whip it on high speed. At first, it’ll look bubbly, then thick, and soon you’ll see gorgeous ripples and puffy peaks. Stop when those peaks stand up on their own—this is the magic texture.
Step 4: Fold Cream into the Base
Carefully add the billowy whipped cream into the sweet condensed milk mixture, one cup at a time. Fold it in gently with a spatula, swirling until you see no streaks. The goal is to keep that airiness for super creamy No-Churn Vanilla Ice Cream!
Step 5: Freeze and Set
Pour your luscious ice cream mixture into the cold loaf pan, smoothing the top with your spatula. Cover it with foil and nestle it in the freezer. After two hours, if you’re craving mix-ins like chocolate chips or berries, now’s your chance to swirl them in! Re-cover and let everything freeze three more hours, or until beautifully set.
Step 6: Scoop and Serve
Once you’re ready to indulge, pull your No-Churn Vanilla Ice Cream from the freezer about five minutes ahead of time. This little rest helps it soften to the perfect creaminess. Scoop it up, serve, and bask in your homemade dessert glow.
How to Serve No-Churn Vanilla Ice Cream
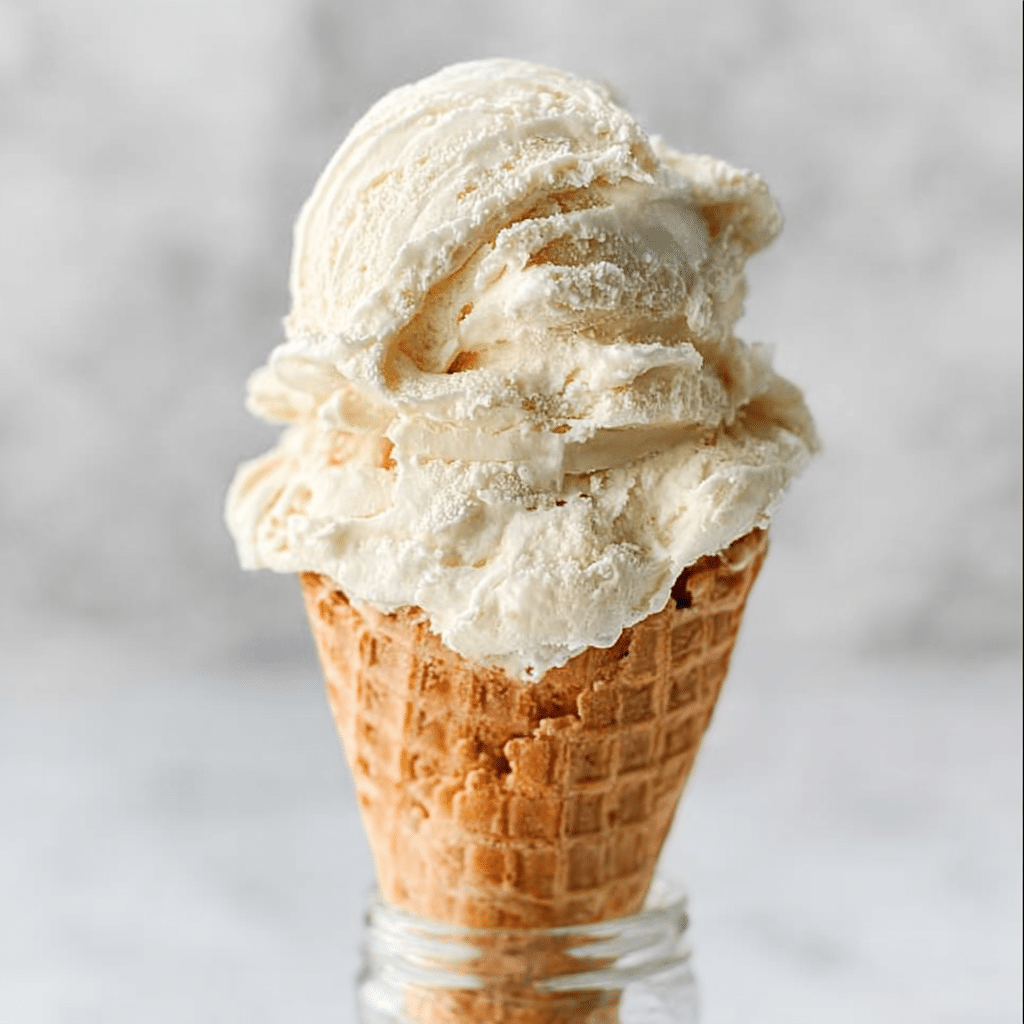
No-Churn Vanilla Ice Cream Garnishes
Ooh, this is where you can get playful! Try a flurry of rainbow sprinkles, shavings of dark chocolate, a pinch of flaky sea salt, or a spoonful of your favorite berry compote. Even a drizzle of caramel or warm chocolate sauce takes your ice cream to pure celebration mode.
Side Dishes
This cool, creamy treat pairs wonderfully with warm fruit crisps, fudgy brownies, or classic chocolate chip cookies. For a more elegant touch, serve it with fresh summer berries or atop a simple butter cake. No-Churn Vanilla Ice Cream really is the ultimate dessert wingman.
Creative Ways to Present
If you’re feeling fancy, layer scoops into parfait glasses with fruit and cookies, make mini ice cream sandwiches using homemade cookies, or even affogato-style with a shot of hot espresso. Kids and adults alike love it piled into waffle cones or molded into shapes with a cookie cutter for an extra bit of whimsy!
Make Ahead and Storage
Storing Leftovers
Simply keep any remaining No-Churn Vanilla Ice Cream tightly covered right in its loaf pan or transfer to an airtight container. It will stay fresh, creamy, and delicious for up to two weeks—if it lasts that long!
Freezing
Freeze your ice cream as soon as it’s mixed and ready. For best texture, press parchment or wax paper directly against the surface before covering with foil or a lid, which helps prevent icy crystals. The beauty of No-Churn Vanilla Ice Cream is that it maintains its lusciousness even after days in the freezer.
Reheating
No need to reheat, but for easy scooping, simply let the ice cream sit at room temperature for about five minutes. This short wait softens it to that perfect, creamy consistency every time.
FAQs
Can I use low-fat cream for this No-Churn Vanilla Ice Cream?
For best results, stick to full-fat heavy whipping cream. The high fat content is what gives this No-Churn Vanilla Ice Cream its signature silky texture and richness—lower-fat alternatives just don’t whip up the same way.
What’s the best way to add mix-ins?
Add your favorite mix-ins like cookies, nuts, or fruit after the initial two-hour freeze. Gently swirl them into the semi-frozen mixture to keep the texture fluffy and even throughout the ice cream.
Can I double the recipe?
Absolutely! Simply double all the ingredients and use a larger pan or two loaf pans. Just make sure there’s enough freezer space for proper chilling and setting.
How can I make this ice cream dairy-free?
You can try swapping the heavy cream for full-fat coconut cream and using sweetened condensed coconut milk, though the flavor and texture will be a bit different. The no-churn method still works, just with a coconut twist!
Does this recipe work with other flavors?
It sure does! Use the No-Churn Vanilla Ice Cream base and fold in cocoa powder, espresso, fruit purees, or extracts (like peppermint or almond) to create your own unique versions. The vanilla base is endlessly adaptable.
Final Thoughts
There’s nothing like sharing a homemade treat with people you care about, and this No-Churn Vanilla Ice Cream is guaranteed to charm everyone who tries it. Whether you enjoy it as a solo splurge or as the finishing flourish to your favorite cakes and pies, don’t be surprised if it becomes a staple in your dessert repertoire!
Print
No-Churn Vanilla Ice Cream Recipe
- Prep Time: 15 minutes
- Total Time: 5 hours 15 minutes
- Yield: 6 servings
- Category: Dessert
- Method: Freezing
- Cuisine: American
- Diet: Vegetarian
Description
Enjoy the creamy goodness of homemade vanilla ice cream with this easy no-churn recipe. Perfect for any occasion!
Ingredients
Sweetened Condensed Milk:
14 ounces
Vanilla Extract:
2 teaspoons
Salt:
1 pinch
Heavy Whipping Cream:
2 cups
Instructions
- Prepare Ingredients: Chill mixing bowl and loaf pan. Combine condensed milk, vanilla, and salt in a bowl.
- Whip Cream: Beat chilled cream until stiff peaks form.
- Combine Mixtures: Gently fold whipped cream into condensed milk mixture.
- Freeze: Pour into pan, freeze for 2 hours, then add mix-ins if desired, and freeze for an additional 3 hours.
- Serve: Soften for 5 minutes before serving.
Notes
- Line pan with parchment paper for easier clean-up.
- Whipped cream will go through stages when beating.
Nutrition
- Serving Size: 1 serving
- Calories: 490 kcal
- Sugar: 36g
- Sodium: 121mg
- Fat: 35g
- Saturated Fat: 22g
- Unsaturated Fat: 11g
- Trans Fat: 0g
- Carbohydrates: 38g
- Fiber: 0g
- Protein: 7g
- Cholesterol: 131mg

