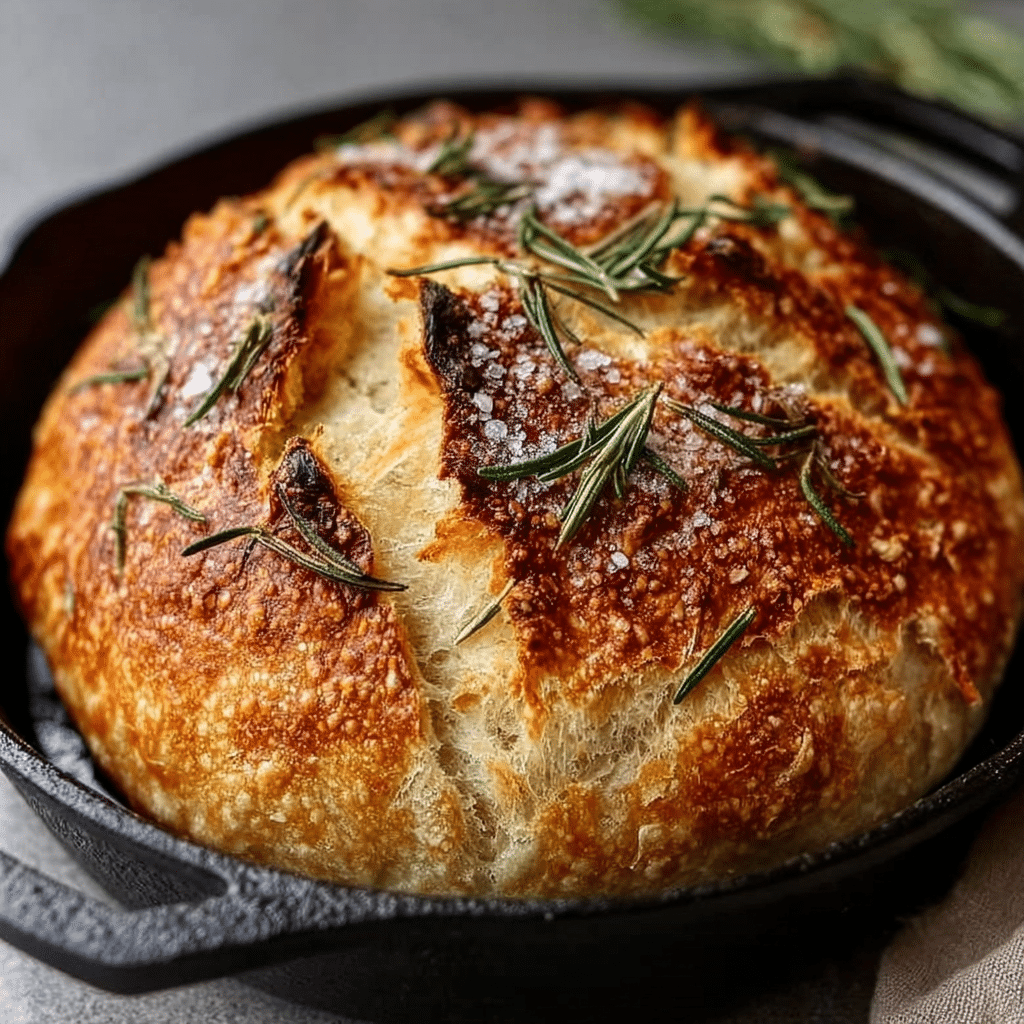
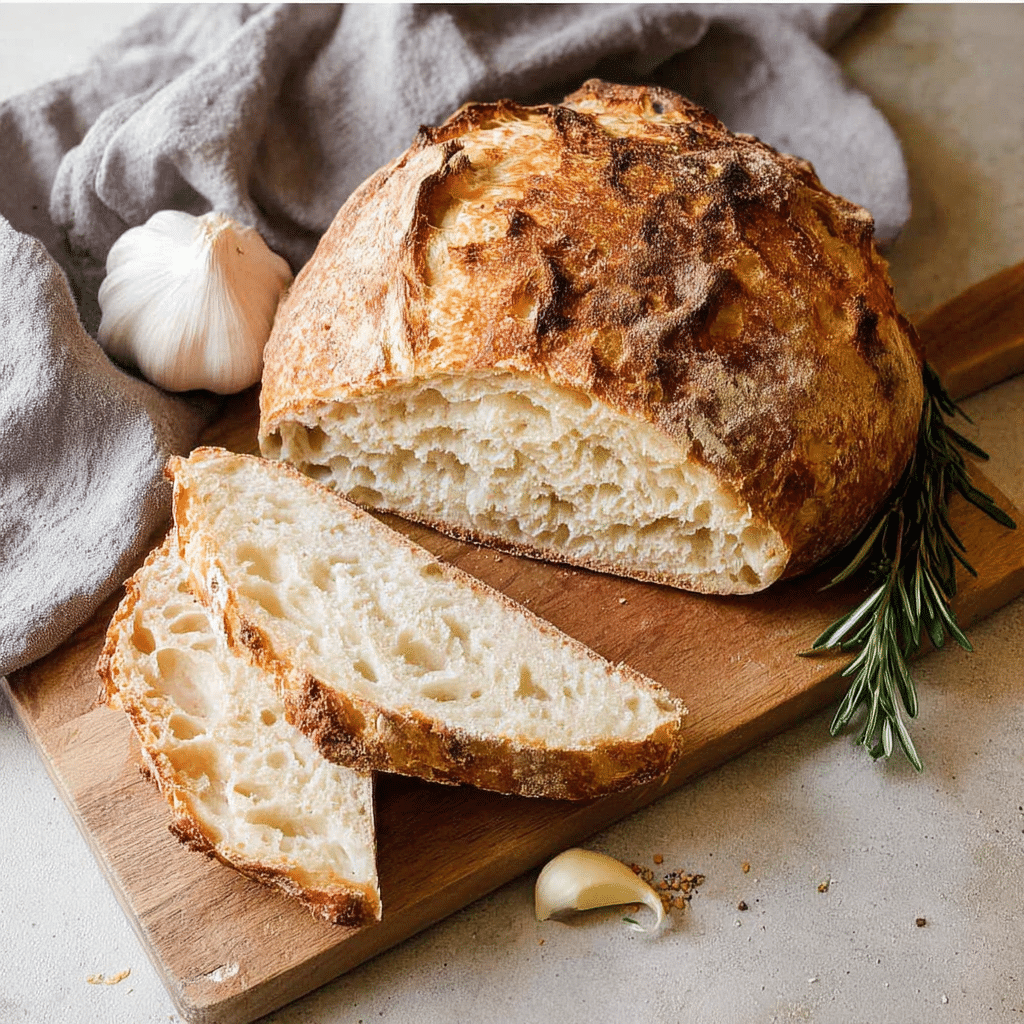
If you’re searching for a bread recipe that feels like it belongs straight from a countryside bakery, this easy roasted garlic rosemary artisan bread is your new best friend. It’s wonderfully crusty on the outside, chewy within, and absolutely bursting with deep, savory flavor thanks to slow-roasted garlic and aromatic rosemary. There’s just something special about crafting a loaf with that unmistakably rustic charm—simple ingredients, a no-knead technique, and the kind of homemade magic you can truly taste. Whether you’re a seasoned baker or dipping your toes into bread-baking for the first time, you’re about to fall in love with this rustic creation that rewards your patience a thousandfold.

Ingredients You’ll Need
One of the most beautiful things about this rustic bread is how a handful of straightforward ingredients can create such an impressive loaf. Every element—from fragrant herbs to golden olive oil—plays a role in achieving that ideal taste and picture-perfect texture. Here’s what you’ll need, plus a few tips for making the most of each.
- Garlic Head: Roasting a whole head brings mellow, nutty sweetness that makes the loaf unique.
- Extra-Virgin Olive Oil: A touch of oil enriches the dough and deepens flavor, especially when used for roasting the garlic.
- Coarse Sea Salt & Freshly Ground Black Pepper: Essential for seasoning the garlic before roasting, adding layers of taste.
- Water (room temperature): The right water temperature activates the yeast gently, ensuring a beautiful rise.
- Active Dry Yeast: This is your secret to that rustic, airy crumb and satisfying chew.
- Bread or All-Purpose Flour: Both work, but bread flour gives a slightly chewier, more rustic texture.
- Dried Oregano: This adds a subtle hint of earthiness that plays so well with the other flavors.
- Kosher or Fine Sea Salt: A pinch in the dough brings everything together and enhances each bite.
- Fresh Rosemary (finely chopped): The star herb of this loaf—make sure it’s fresh for maximum aroma and that signature rustic look.
- Roasted Garlic Cloves (smashed): Folded straight into the dough, these cloves are the essence of savory comfort.
How to Make rustic
Step 1: Roast the Garlic
To really build a foundation of flavor in your rustic loaf, start by roasting the garlic. Preheat your oven to 400°F (204°C). Slice the head of garlic in half crosswise to expose the cloves, drizzle with a splash of olive oil, and sprinkle with salt and pepper. Wrap the garlic in foil, pop it in the oven, and let it roast for about 40 minutes. Once golden, soft, and caramelized, let it cool before squeezing out those sweet, mellow cloves—these will be jewels tucked throughout your bread.
Step 2: Mix the Dough
While your house fills with the heavenly aroma of roasted garlic, dissolve the yeast in room-temperature water and let it sit for 10 to 15 minutes—this step wakes up the yeast and gives your bread that signature rustic rise. In a large bowl, mix the flour, salt, oregano, and rosemary. Add in the yeast-water mixture, roasted garlic, and a spoonful of olive oil, then stir with a spatula until everything is combined and the dough is sticky. No kneading required—just a gentle mix to keep it rustic.
Step 3: First Rise
Cover your dough with a clean kitchen towel and let it rest at room temperature for 8 to 10 hours. This overnight rest is a secret to that deep rustic flavor and helps develop a chewy, open crumb. By morning, your dough will be doubled in size, pillowy, and begging to be baked.
Step 4: Shape and Cold Ferment
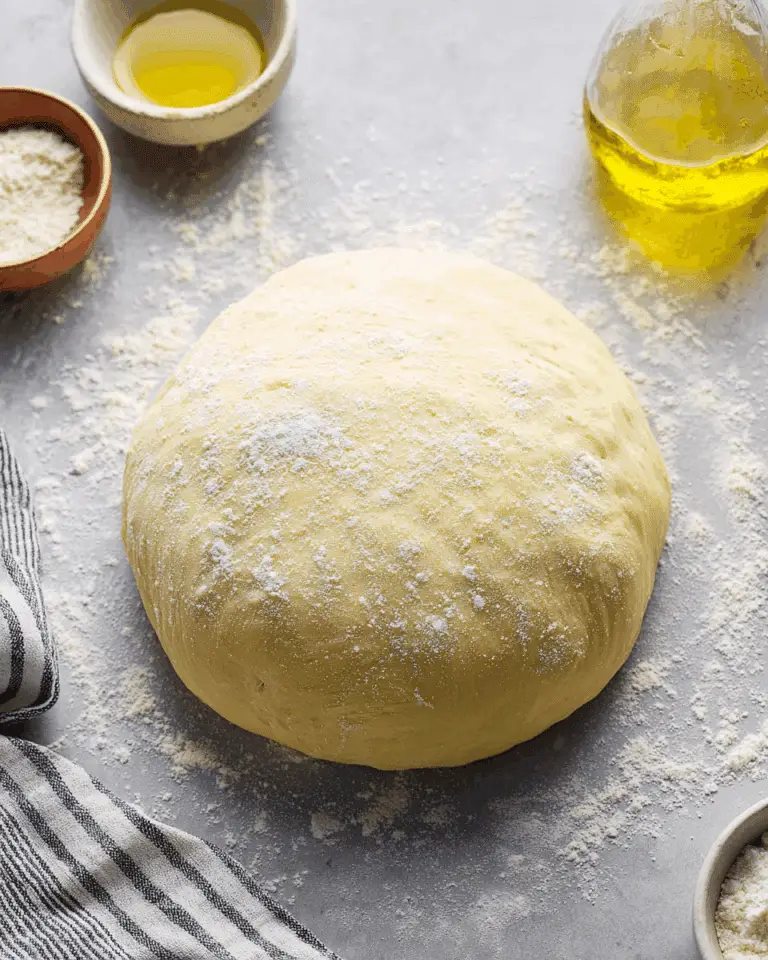
Turn the risen dough onto a generously floured surface, handling it gently to keep those lovely air bubbles intact. Shape it into a ball (imperfections are part of the rustic charm!), then place it seam-side up into a floured bowl or proofing basket. Cover it up and let it chill in the fridge for at least 1 hour, or up to 48 hours if you want an even more developed, rustic tang.
Step 5: Preheat Oven & Score
While your dough wakes up from its cold rest, heat your oven to 450°F (232°C) with a Dutch oven inside to get piping hot. Invert the dough onto a piece of parchment, so the seam is now facing down, and score the top with a sharp knife or bread lame—these deep cuts not only look gorgeous (and extra rustic!), but allow the bread to expand as it bakes.
Step 6: Bake
Carefully transfer the dough, parchment and all, into your preheated Dutch oven. Cover with the lid and bake for 30 minutes to build steam (that’s how you get that wild, crackly crust). Remove the lid and continue baking for another 15 to 20 minutes, until your rustic bread is golden brown and beautifully blistered on top.
Step 7: Cool & Slice
Resist the urge to slice right in! Move your gorgeous, rustic loaf to a wire rack and let it cool for at least an hour. Once set, use a sharp bread knife to cut thick slices—it’s sheer perfection with a smear of butter, dip of olive oil, or built into a hearty rustic sandwich.
How to Serve rustic

Garnishes
Sprinkle your loaf with an extra flourish of chopped rosemary and a sprinkle of flaky sea salt just before serving for a truly rustic finishing touch. This not only makes each slice look bakery-worthy but intensifies the herbs and adds a little crunch on top.
Side Dishes
This rustic bread is incredibly versatile and shines alongside so many meals. Serve it with a steaming bowl of tomato soup, creamy chowder, or a classic rustic cheese platter. A simple salad of peppery greens and a drizzle of olive oil rounds out a perfect lunch.
Creative Ways to Present
Turn your rustic bread into an edible centerpiece by presenting it whole at the table for guests to tear off chunks—no knife needed! For a brunch spread, try slicing and toasting, then layering with smashed avocado, tomatoes, or soft cheese for a delicious, rustic tartine.
Make Ahead and Storage
Storing Leftovers
Store any leftover rustic bread at room temperature in a paper bag or bread box for up to 2 days; the crust will stay crunchy, and the crumb will stay chewy. Avoid plastic bags, which can make the bread soggy.
Freezing
This rustic loaf freezes beautifully! Once completely cooled, slice as desired and wrap tightly in foil or plastic wrap, then pop into a freezer bag. Bread keeps its freshness and flavor for up to 2 months—perfect for emergency toast situations.
Reheating
To revive your rustic bread, simply pop the slices in a toaster or warm the whole loaf in a 350°F (175°C) oven for 10 minutes. The crust crisps up again and tastes just as inviting as the day it was baked.
FAQs
Can I use instant yeast instead of active dry yeast?
Absolutely! Just skip the initial dissolving step and mix the instant yeast straight into your dry ingredients—the rustic texture will still turn out beautifully.
What’s the advantage of a cold ferment?
The cold ferment stage is what gives this bread its deep, complex, rustic flavor and that perfect chewy crumb. Longer fermentation means more flavor, so if you have time, let it chill overnight (or even up to 48 hours!).
Do I really need a Dutch oven?
While a Dutch oven is ideal for creating that rustic, shattering crust by trapping steam, you can use a heavy oven-safe pot with a lid as a substitute. Just make sure it’s preheated and large enough for the loaf.
Can I make this bread gluten-free?
Making a gluten-free version of this rustic bread is possible with a high-quality all-purpose gluten-free flour blend—but do note the texture will be slightly different. For best results, follow a recipe specifically developed for gluten-free artisan loaves.
What are some other flavor variations?
Feel free to get creative with this rustic recipe! Try adding sun-dried tomatoes, kalamata olives, or a bit of grated parmesan for an extra punch of flavor. Just fold in any add-ins gently before the first rise.
Final Thoughts
There’s something undeniably joyful about pulling a golden, rustic loaf from your oven, perfumed with garlic and rosemary, and knowing you made it with just a few simple steps. Give this recipe a try and let it become your go-to for sharing warmth and flavor with family and friends—because rustic bread truly is the heart of homemade comfort.
Print
rustic Recipe
- Prep Time: 20 minutes
- Cook Time: 50 minutes
- Total Time: 12 hours
- Yield: 1 loaf (12 servings)
- Category: Bread
- Method: Baking
- Cuisine: Artisan
- Diet: Vegetarian
Description
Easy Roasted Garlic Rosemary Artisan Bread is a crusty, chewy, and flavorful homemade loaf made using a no-knead, rustic recipe. This bread is perfect for any occasion and will impress your friends and family with its delicious taste.
Ingredients
For the Bread Dough:
- 1 whole head garlic
- 1 tablespoon extra-virgin olive oil (divided)
- Coarse sea salt & freshly ground black pepper
- 1½ cups water (room temperature, ~70°F / 21°C)
- 1 teaspoon active dry yeast
- 3 cups bread or all-purpose flour (plus more for dusting)
- ½ teaspoon dried oregano
- 1 teaspoon kosher or fine sea salt
- 2 teaspoons finely chopped fresh rosemary (plus more for topping)
- 1 head roasted garlic cloves (smashed)
Instructions
- Roast the Garlic – Preheat oven to 400°F (204°C). Cut the garlic head in half, drizzle exposed cloves with olive oil, sprinkle with salt and pepper, and wrap in foil. Roast for 40 minutes, then cool and remove cloves from skins.
- Mix the Dough – In a small bowl, dissolve yeast in room-temp water and let sit for 10–15 minutes. In a large bowl, combine flour, salt, oregano, and rosemary. Add yeast water, roasted garlic, and olive oil. Mix with spatula until sticky.
- First Rise – Cover the bowl with a clean towel and let rise at room temperature for 8–10 hours, until doubled in size.
- Shape and Cold Ferment – Turn dough onto floured surface and gently shape into a ball. Place seam-side up in a floured bowl or basket, cover, and refrigerate 1–24 hours (up to 48 for deeper flavor).
- Preheat Oven & Score – Preheat oven to 450°F (232°C) with a Dutch oven inside. Remove dough from fridge, invert onto parchment paper (seam-side down), and score top with a sharp blade.
- Bake – Place dough with parchment into preheated Dutch oven. Cover and bake for 30 minutes. Uncover and bake another 15–20 minutes until golden brown.
- Cool & Slice – Remove from Dutch oven and cool on wire rack at least 1 hour before slicing.
Notes
- Overnight cold ferment enhances flavor and texture—don’t skip it!
Nutrition
- Serving Size: 1 slice (approximately 60g)
- Calories: 180 kcal
- Sugar: 0 g
- Sodium: 290 mg
- Fat: 0.5 g
- Saturated Fat: 3 g
- Unsaturated Fat: 0 g
- Trans Fat: 0 g
- Carbohydrates: 31 g
- Fiber: 1 g
- Protein: 5 g
- Cholesterol: 0 mg


