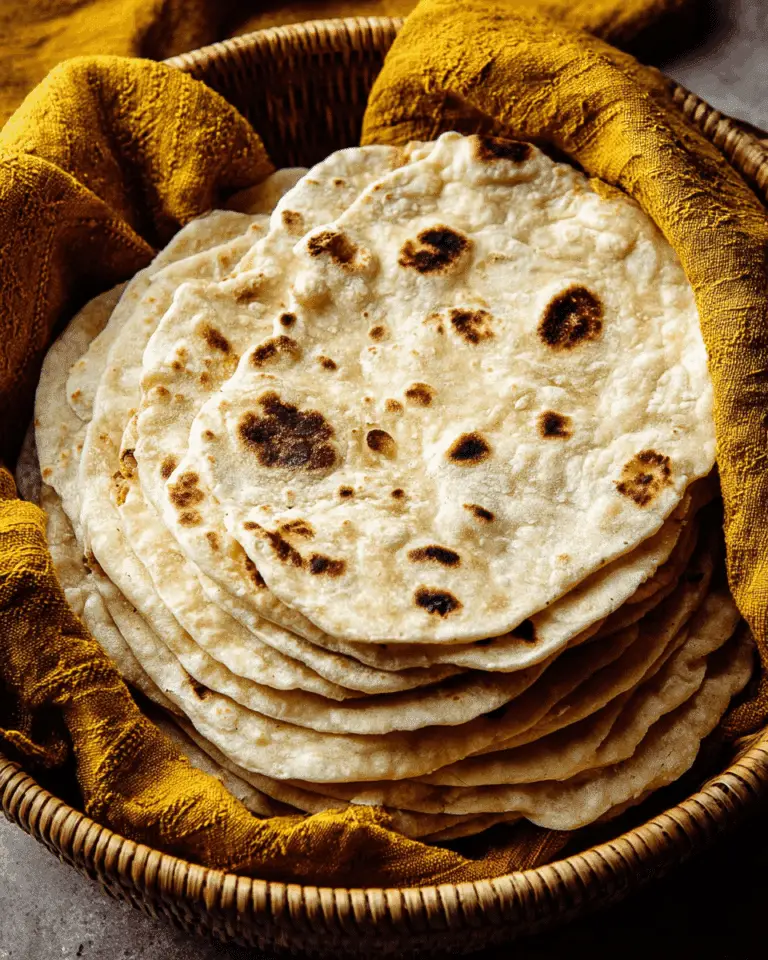
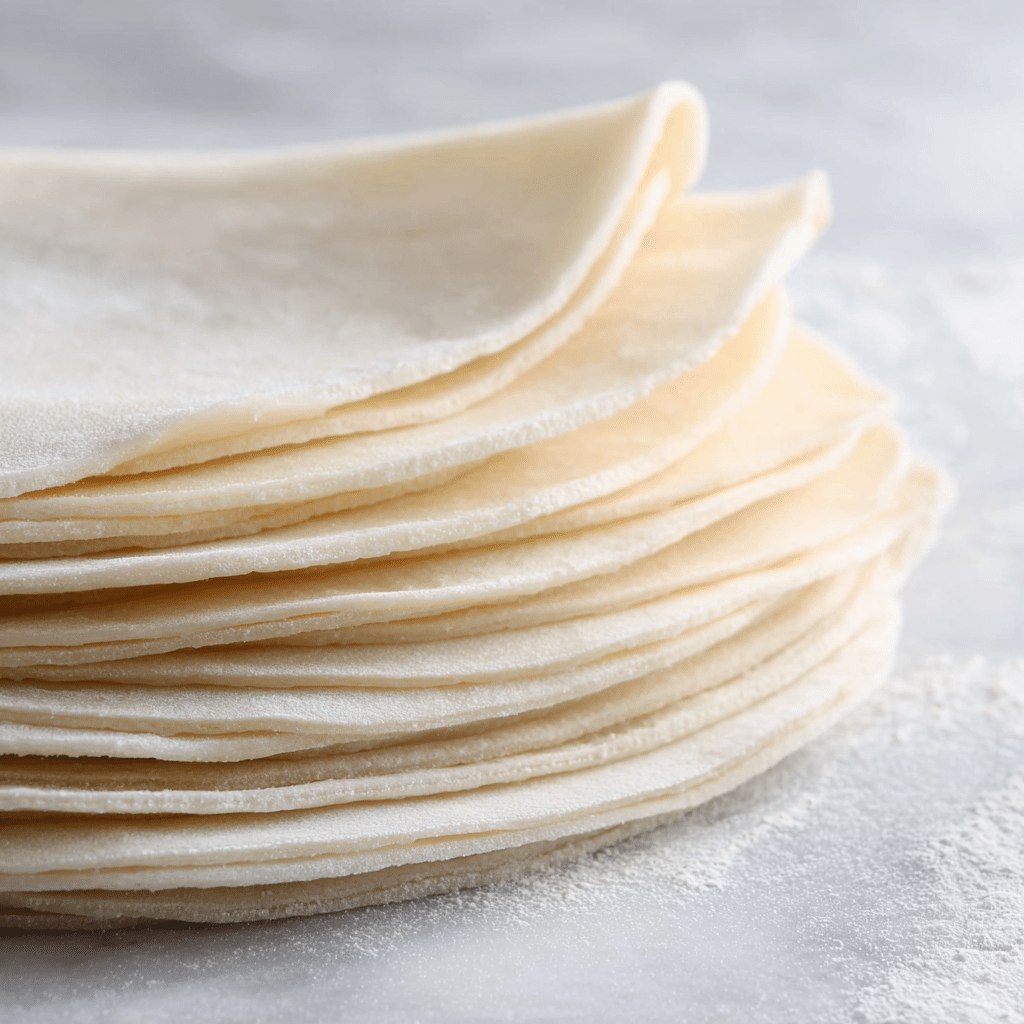
Meet your new kitchen staple: Samosa and Spring Rolls Wraps. These versatile, paper-thin wraps are the secret to effortlessly satisfying all your crispy, golden-brown snack cravings. With just a handful of pantry ingredients, you can whip up wraps that are far superior to anything store-bought. Whether you’re craving classic samosas, crave-worthy spring rolls, or your own creative fusion, these wraps deliver the tender bite and perfect pliability that elevate every filling. Once you discover how quick and magical these are to make, you’ll want to wrap just about everything in sight!
Ingredients You’ll Need
The best thing about Samosa and Spring Rolls Wraps is how they rely on simple ingredients you likely already have at home. Each one is crucial — the flour gives structure, the water controls texture, while just a hint of salt (and sugar, if using) brings the flavor to life. Here’s a quick rundown of why you need each:
- All-purpose flour (2 cups/250g): This is the backbone of your wraps, providing structure and stretch for that signature thin, pliable finish.
- Water (1½ cups/360ml): The magic that transforms flour into a smooth, spreadable batter; it’s what helps you achieve melt-in-your-mouth wraps.
- Salt (¼ teaspoon): Don’t skip this! It lifts the flavor and brings out the subtle sweetness in your fillings.
- Sugar, optional (¼ teaspoon): Just a touch balances the savoriness, keeping the wraps from tasting flat—feel free to adjust for your tastes.
How to Make Samosa and Spring Rolls Wraps
Step 1: Make the Batter
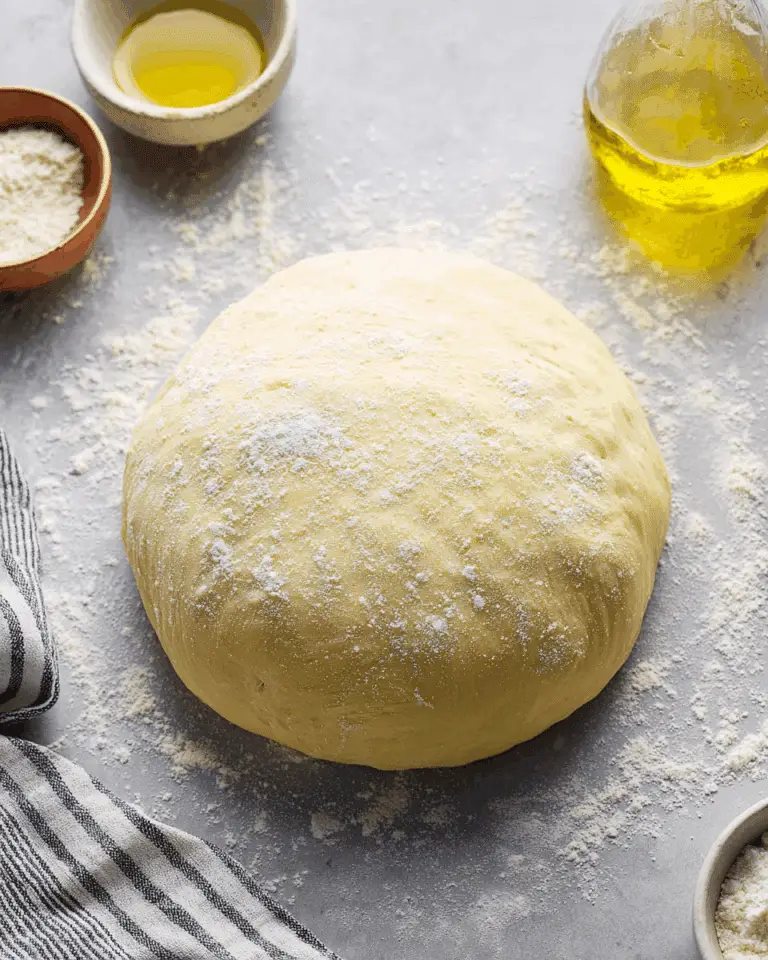
Start by whisking together your flour, salt, and a sprinkle of sugar (if using) in a large mixing bowl. Gradually add the water, stirring constantly. Aim for a batter that’s smooth and lump-free—think just slightly thinner than pancake batter. This means your wraps will spread easily and cook up super thin, just like you want!
Step 2: Prepare the Pan
Heat a non-stick pan over medium heat—this is a game changer for perfectly formed wraps. Dab a small amount of oil onto a brush or paper towel and swipe it across the surface. This keeps your wraps from sticking, so you can glide them right off, plus it helps get that whisper of golden color on the bottom.
Step 3: Swirl and Cook
Pour a small ladleful of batter onto the pan, then immediately swirl or use the back of a spoon to spread it into a thin circle. You’ll see the wrap setting almost instantly—cook it for just 30 seconds to 1 minute. Once it looks dry and the edges begin to lift, you’re in business. The key here: don’t flip! The wraps are delicate and meant to cook on just one side for the best texture.
Step 4: Remove and Keep Soft
Using a spatula or your fingers if you’re brave, gently lift the wrap from the pan and set it onto a plate. Cover each finished wrap with a damp, clean kitchen towel to seal in the steam, so your Samosa and Spring Rolls Wraps stay tender and flexible. This is your secret to avoiding cracks later!
Step 5: Repeat and Cool
Repeat the process with the rest of your batter, stirring occasionally in case it has thickened. Once you’re finished, let the wraps cool completely before getting creative with your fillings. Trust me, once you see how easily these peel apart, you’ll want to make extras every time.
How to Serve Samosa and Spring Rolls Wraps
Garnishes
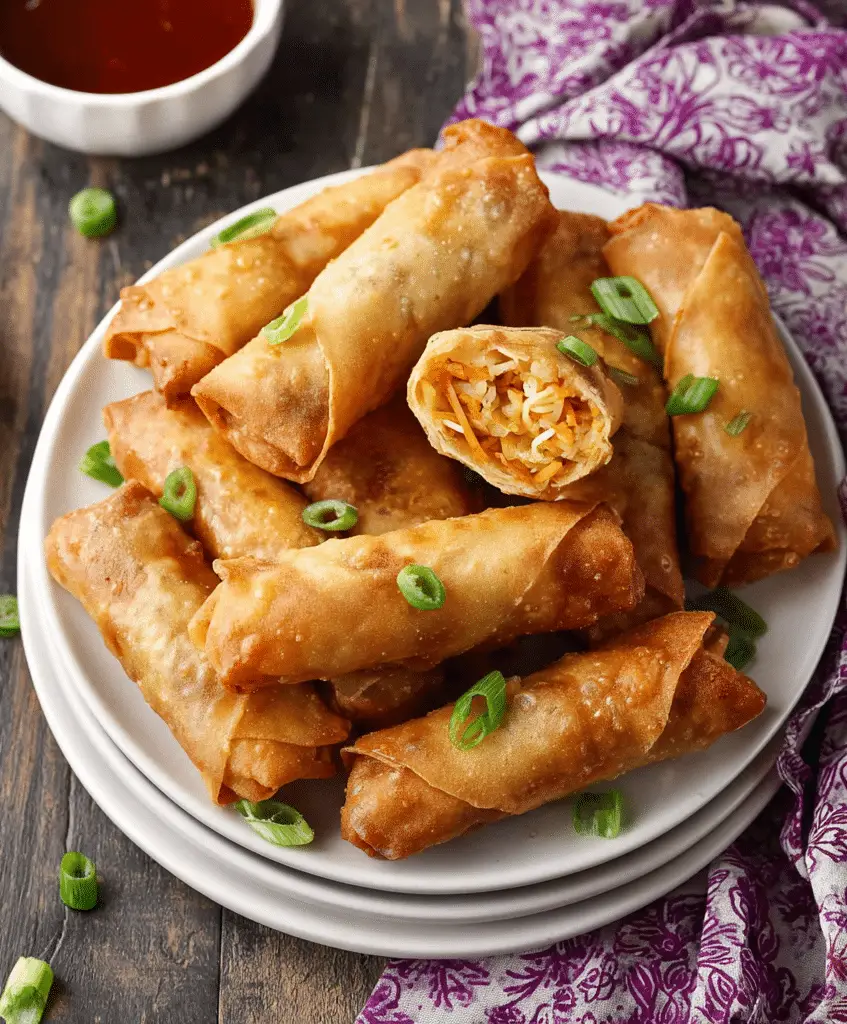
After you’ve rolled your samosas or spring rolls, don’t forget the finishing touches! Sprinkle on toasted sesame seeds, chopped cilantro, or even a drizzle of tangy tamarind sauce to amplify every bite. These little add-ons make each bite pop with color and flavor, making your Samosa and Spring Rolls Wraps a real showstopper.
Side Dishes
The crispy, flaky magic of Samosa and Spring Rolls Wraps pairs perfectly with all sorts of sides. Serve with cooling yogurt raita, classic green chutney, or a sweet chili sauce for dipping. For a hearty meal, tuck your crisped wraps alongside fragrant basmati rice or a refreshing cucumber salad.
Creative Ways to Present
Go beyond the ordinary! Stack your Samosa and Spring Rolls Wraps on a platter with dipping bowls for a self-serve appetizer bar at your next get-together. Cut filled wraps into bite-sized pinwheels for party snacks, or transform them into mini cones filled with vibrant salads for a fun twist. Let your imagination (and your leftovers) guide you!
Make Ahead and Storage
Storing Leftovers
If you have extra wraps or made a big batch on purpose (smart move!), stack them with parchment paper between each one to prevent sticking. Pop them into an airtight container and keep in the fridge for up to 3 days. This way, you’re just moments away from spontaneous snacking or last-minute entertaining.
Freezing
Your Samosa and Spring Rolls Wraps are freezer-friendly, making weekend meal prep a breeze. Place a sheet of parchment or wax paper between each wrap, stack them neatly, and tuck into a freezer-safe bag or container. Frozen wraps keep beautifully for up to two months.
Reheating
When you’re ready to use your wraps, let refrigerated or frozen wraps come up to room temperature or microwave them for a few seconds wrapped in a damp paper towel. For crisping, heat gently on a skillet for a few seconds. Treat them gently and they’ll fold beautifully around any filling!
FAQs
Can I use whole wheat flour for Samosa and Spring Rolls Wraps?
Yes! Whole wheat flour brings a nutty, wholesome flavor to your wraps and works quite well. You may need a bit more water to get the batter nice and pourable, and the wraps will be a touch heartier but still delicious.
My wraps are sticking to the pan—what am I doing wrong?
Make sure your pan is truly non-stick and preheated before adding batter. A light brushing of oil before each pour is essential! If you’re still having trouble, the batter may be too thick—add a splash more water for a thinner consistency.
Can I make these wraps gluten-free?
Absolutely! Try a gluten-free all-purpose blend designed for baking. You may need to play with the water ratio to replicate the smooth, spreadable consistency, but it’s doable and the wraps hold up nicely around fillings.
How thin should the batter be for the perfect Samosa and Spring Rolls Wraps?
You’re aiming for a batter just thinner than pancake batter—it should flow easily but not be watery. A thinner batter is the key to wraps that are delicate and nearly translucent yet strong enough to roll and stuff.
Can I cook and store the wraps in advance for a party?
Definitely! These wraps are designed for make-ahead magic. Prepare, cool, and stack them with parchment paper, then store in the fridge or freezer. When party time rolls around, just fill, wrap, and serve crisp or chilled as you like!
Final Thoughts
Once you try making your own Samosa and Spring Rolls Wraps, you’ll never look back. With just a handful of ingredients and a little practice, you’ll have wraps that make every filling shine, and impress anyone lucky enough to snag a bite. Go on, give this recipe a whirl—you’ll be amazed at how delicious, adaptable, and easy they really are!
Print
Samosa and Spring Rolls Wraps Recipe
- Prep Time: 10 minutes
- Cook Time: 20 minutes
- Total Time: 30 minutes
- Yield: 8-10 wraps
- Category: Appetizer
- Method: Pan-Fry
- Cuisine: International
- Diet: Vegetarian
Description
Learn how to make homemade wraps that are perfect for samosas and spring rolls. These versatile wraps are easy to prepare and can be stored for later use.
Ingredients
Wrap Ingredients:
- 2 cups (250g) all-purpose flour
- 1½ cups (360ml) water
- ¼ teaspoon salt
- ¼ teaspoon sugar (optional)
Instructions
- Mix the Batter: In a bowl, combine flour, salt, and sugar. Gradually add water, stirring until smooth.
- Cook the Wraps: Heat a non-stick pan, grease lightly, pour batter, spread thinly, and cook until dry.
- Cool and Store: Remove from pan, cover to keep soft. Repeat with remaining batter. Cool before using.
Notes
- For a larger batch, double or triple the recipe.
- Adjust the thickness of the wraps according to your preference.
- Experiment with adding herbs or spices to the batter for extra flavor.
Nutrition
- Serving Size: 1 wrap
- Calories: 80
- Sugar: 1g
- Sodium: 150mg
- Fat: 0.5g
- Saturated Fat: 0g
- Unsaturated Fat: 0.5g
- Trans Fat: 0g
- Carbohydrates: 16g
- Fiber: 1g
- Protein: 2g
- Cholesterol: 0mg

